

How To Create A Plugin For Minecraft
Build your first Minecraft plugin in JavaScript and TypeScript
For nearly a decade, Minecraft has lived at the crossroads of gaming and programming, inspiring amazing custom experiences and introducing young programmers to the world of code!
For all those years, Java has been the language of Minecraft. Java is a great and extremely powerful programming language. However, it's not perfect — especially for beginners. Building a Minecraft server plugin with Java requires installation, setup, an IDE, connecting the Bukkit JAR file, bundling, and more. All of that just to get started!
We've come up with a better way to build plugins, one that is better for both novice and expert programmers. It's called CustomRealms. CustomRealms is a platform for launching your own Minecraft server. It's also a place where you can code custom plugins in an IDE directly in your browser, using JavaScript and TypeScript. You can build, test, and publish your plugins completely for free.
Minecraft Plugins in TypeScript
Let's get started building your first CustomRealms plugin. First, go to https://customrealms.io and sign up for an account.

Once you've created your account, you'll be sent to the CustomRealms dashboard. On the dashboard, you can manage your servers, code plugins, or you can browse the Plugin Store — where you can publish your plugins for others to use on their servers!
We're interested in building a Minecraft plugin, so click on Code Plugins on the sidebar.

Click the big green Create button on the top-right corner of the page. Give your plugin a name. For this tutorial, we'll be calling it My First Plugin, but you can name it whatever you'd like!
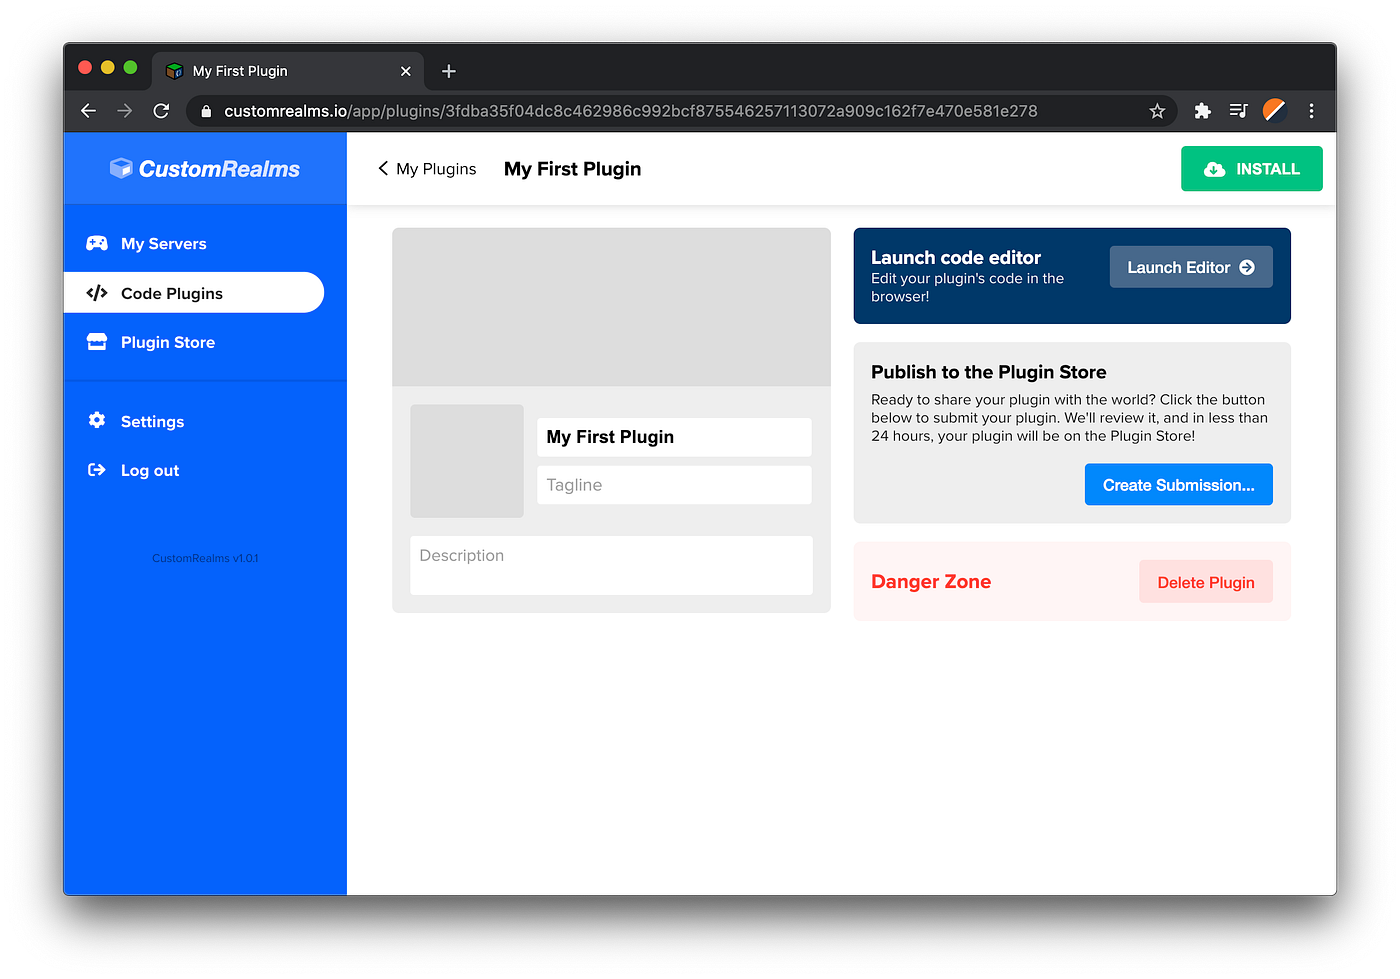
Once you've created your plugin, you'll see the plugin manager page. Later on, you can fill in the other info about your plugin, including the icon, cover photo, and description. But we'll skip that for now!
To get started coding, click Launch Editor in the blue box! Get ready for the fun part!
Meet the CustomRealms IDE
When you launch the code editor, you'll see a full code IDE directly in your browser. In the CustomRealms IDE, you can immediately build and test Minecraft plugins with zero time spent on setup. Let's get started!

Launch a Debug Server
One of the perks of the CustomRealms IDE is the debug server. Click the "create a testing server" button on the bottom-left corner of the page to launch your very own, 100% free, Minecraft server.
It can take a few minutes to launch your debug server, so we recommend that you create it right away when you start working.

Time to code!
The main.plugin.ts file is the entry point for your custom Minecraft plugin. This is where everything starts.
Inside the MainPlugin class, there is a method called onEnable . The onEnable method is called automatically when your plugin starts running on a server. For now, we'll keep it empty!
Creating a Command
Commands allow players to interact with your plugin by typing a command in chat. For instance, when a player types /spawn to teleport to the world spawn point, they are running a command.
For this plugin, we're going to create a command called /hello . When players run the command, we will display a large "Hello World" title on their screen. After the public onEnable(): void { ... } method, but still inside the MainPlugin class, add the following:
          @cr.Command('/hello')
public helloCommand(): void {          }
This code creates a method (which we are calling helloCommand ) that is automatically called whenever a player runs the /hello command in-game.
Our goal is to respond to the player by displaying "Hello World" on their screen. So, we need a way to figure out which user called the command. Luckily, it's extremely easy!
Take a look at the parentheses after the name of the method: helloCommand () . Inside these parentheses, we can request from CustomRealms anything we need for this command. For instance, if we need to know which player ran the /hello command, we simply add a player argument in the parentheses:
          @cr.Command('/hello')
public helloCommand(player: cr.Player): void {          }
Seriously, that's all. This is called dependency injection. It's a topic that is far too complex for this article. But in the future we'll publish one going in depth about it, we promise!
Now, inside the method, we can begin to interact with the player:

So, let's finish the code to display "Hello World" on the player's screen:
          @cr.Command('/hello')
public helloCommand(player: cr.Player): void {
            player.sendTitle(
              'Hello World',
              'from CustomRealms',
              5,
              60,
              5
              );
}
Compiling your Plugin
Now that we've finished the command method, it's time to compile. Luckily, the CustomRealms IDE makes it extremely simple to compile your code. Simply click the Compile button in the top-left corner:

Testing your Plugin
Now that the plugin has been compiled, it's time to test it. Launch Minecraft and join your debug server (the IP address is displayed on the IDE).
Once you join the server, make sure to run the /reload command. Running /reload tells the debug server to update to the latest compiled code from your project.
Now, let's run our /hello command. Here's what you should see:
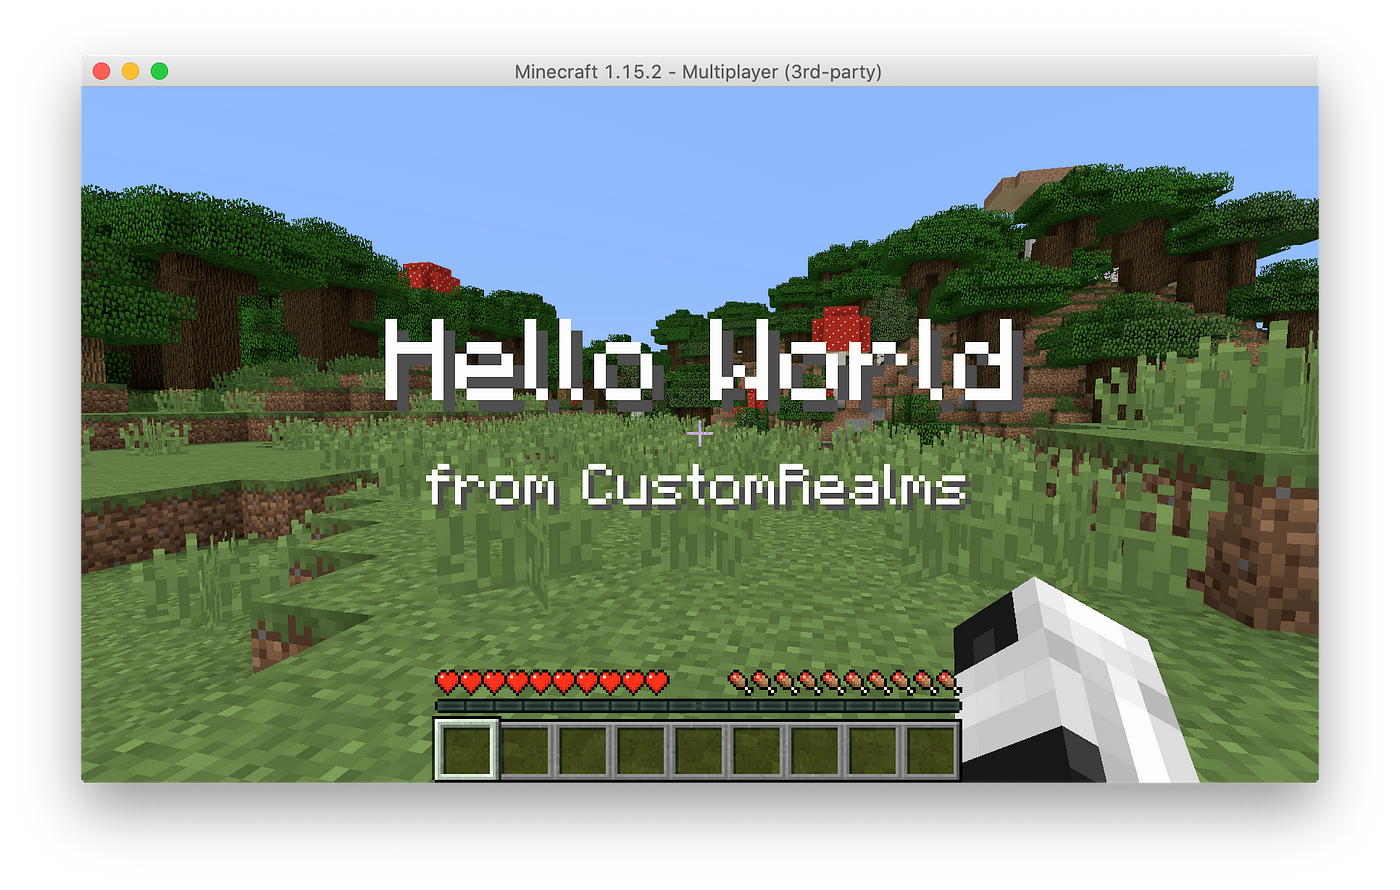
Congratulations! You just wrote your very first Minecraft plugin using TypeScript on CustomRealms!
Next steps
In this tutorial, you learned how to create a Minecraft plugin that responds to a player command. This is just the first step, and CustomRealms offers much more that we will explore in future tutorials.
In the next tutorial, we will teach you how to respond to events in the world, like players breaking blocks, in order to create a spawn protection plugin. It might sound difficult, but it's actually no harder than this tutorial!
How To Create A Plugin For Minecraft
Source: https://medium.com/@customrealms/build-your-first-minecraft-plugin-in-javascript-and-typescript-cd3460e22788
Posted by: duncanboyaceing.blogspot.com
0 Response to "How To Create A Plugin For Minecraft"
Post a Comment