

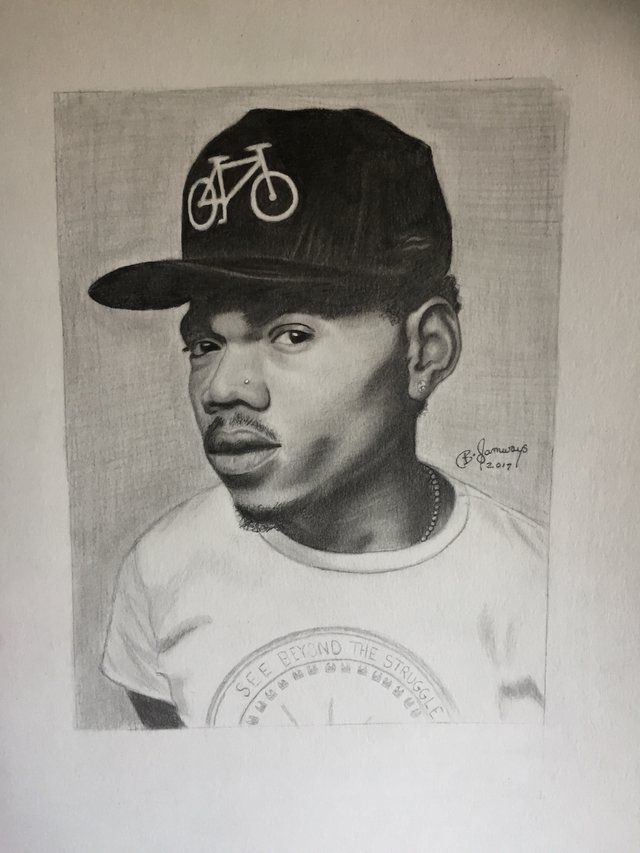
How To Draw Chance The Rapper
Are you able to draw simple shapes, follow simple directions and enjoy drawing?
If so I'm confident I can get you to draw a pretty decent chance the rapper.
"When the praises go up,
The Blessings come down."

Copy the lines on each picture as closely as possible and follow my written narrative.
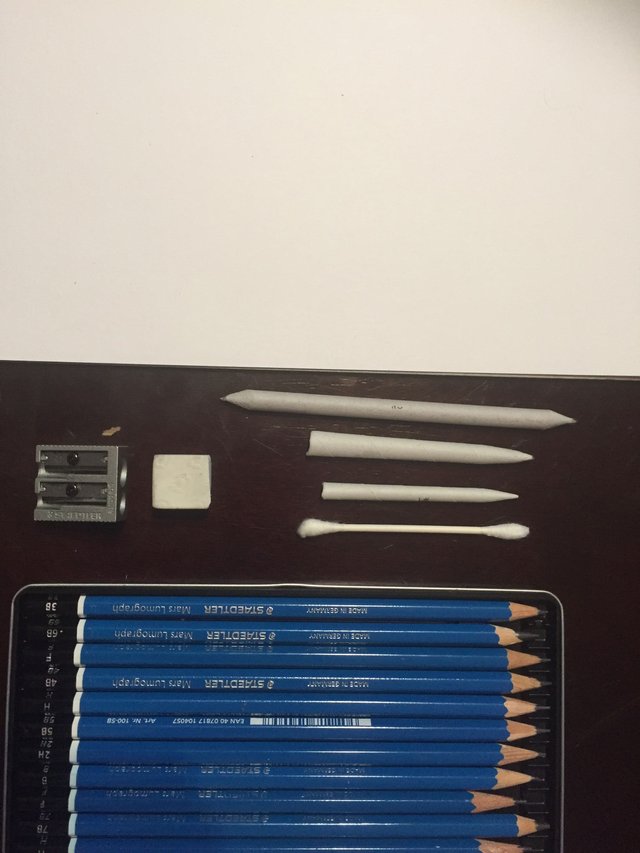
All you will need for this art piece will be eraser, sharpener, pencil set (ranging from at least a 2h-2b), shaders (q-tip) and of course your canvas/paper.
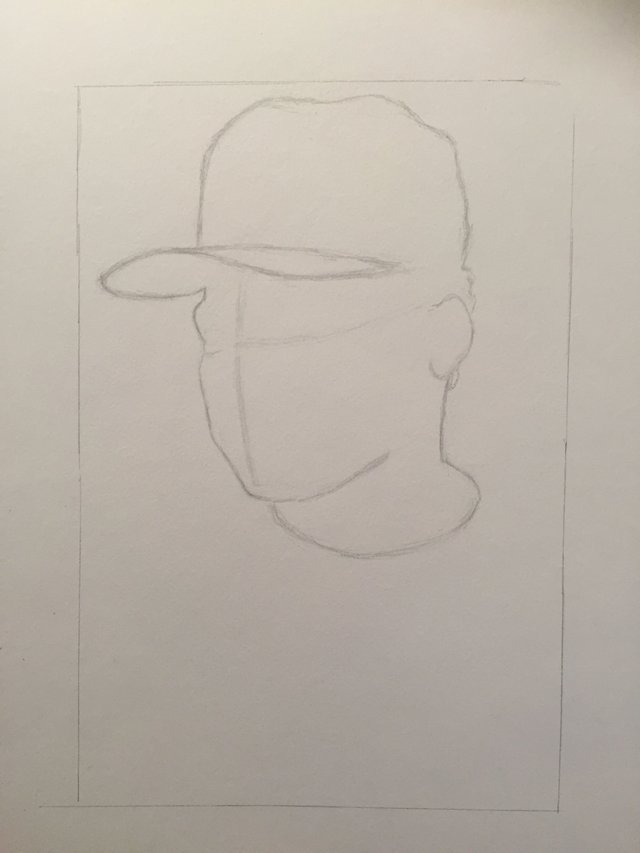
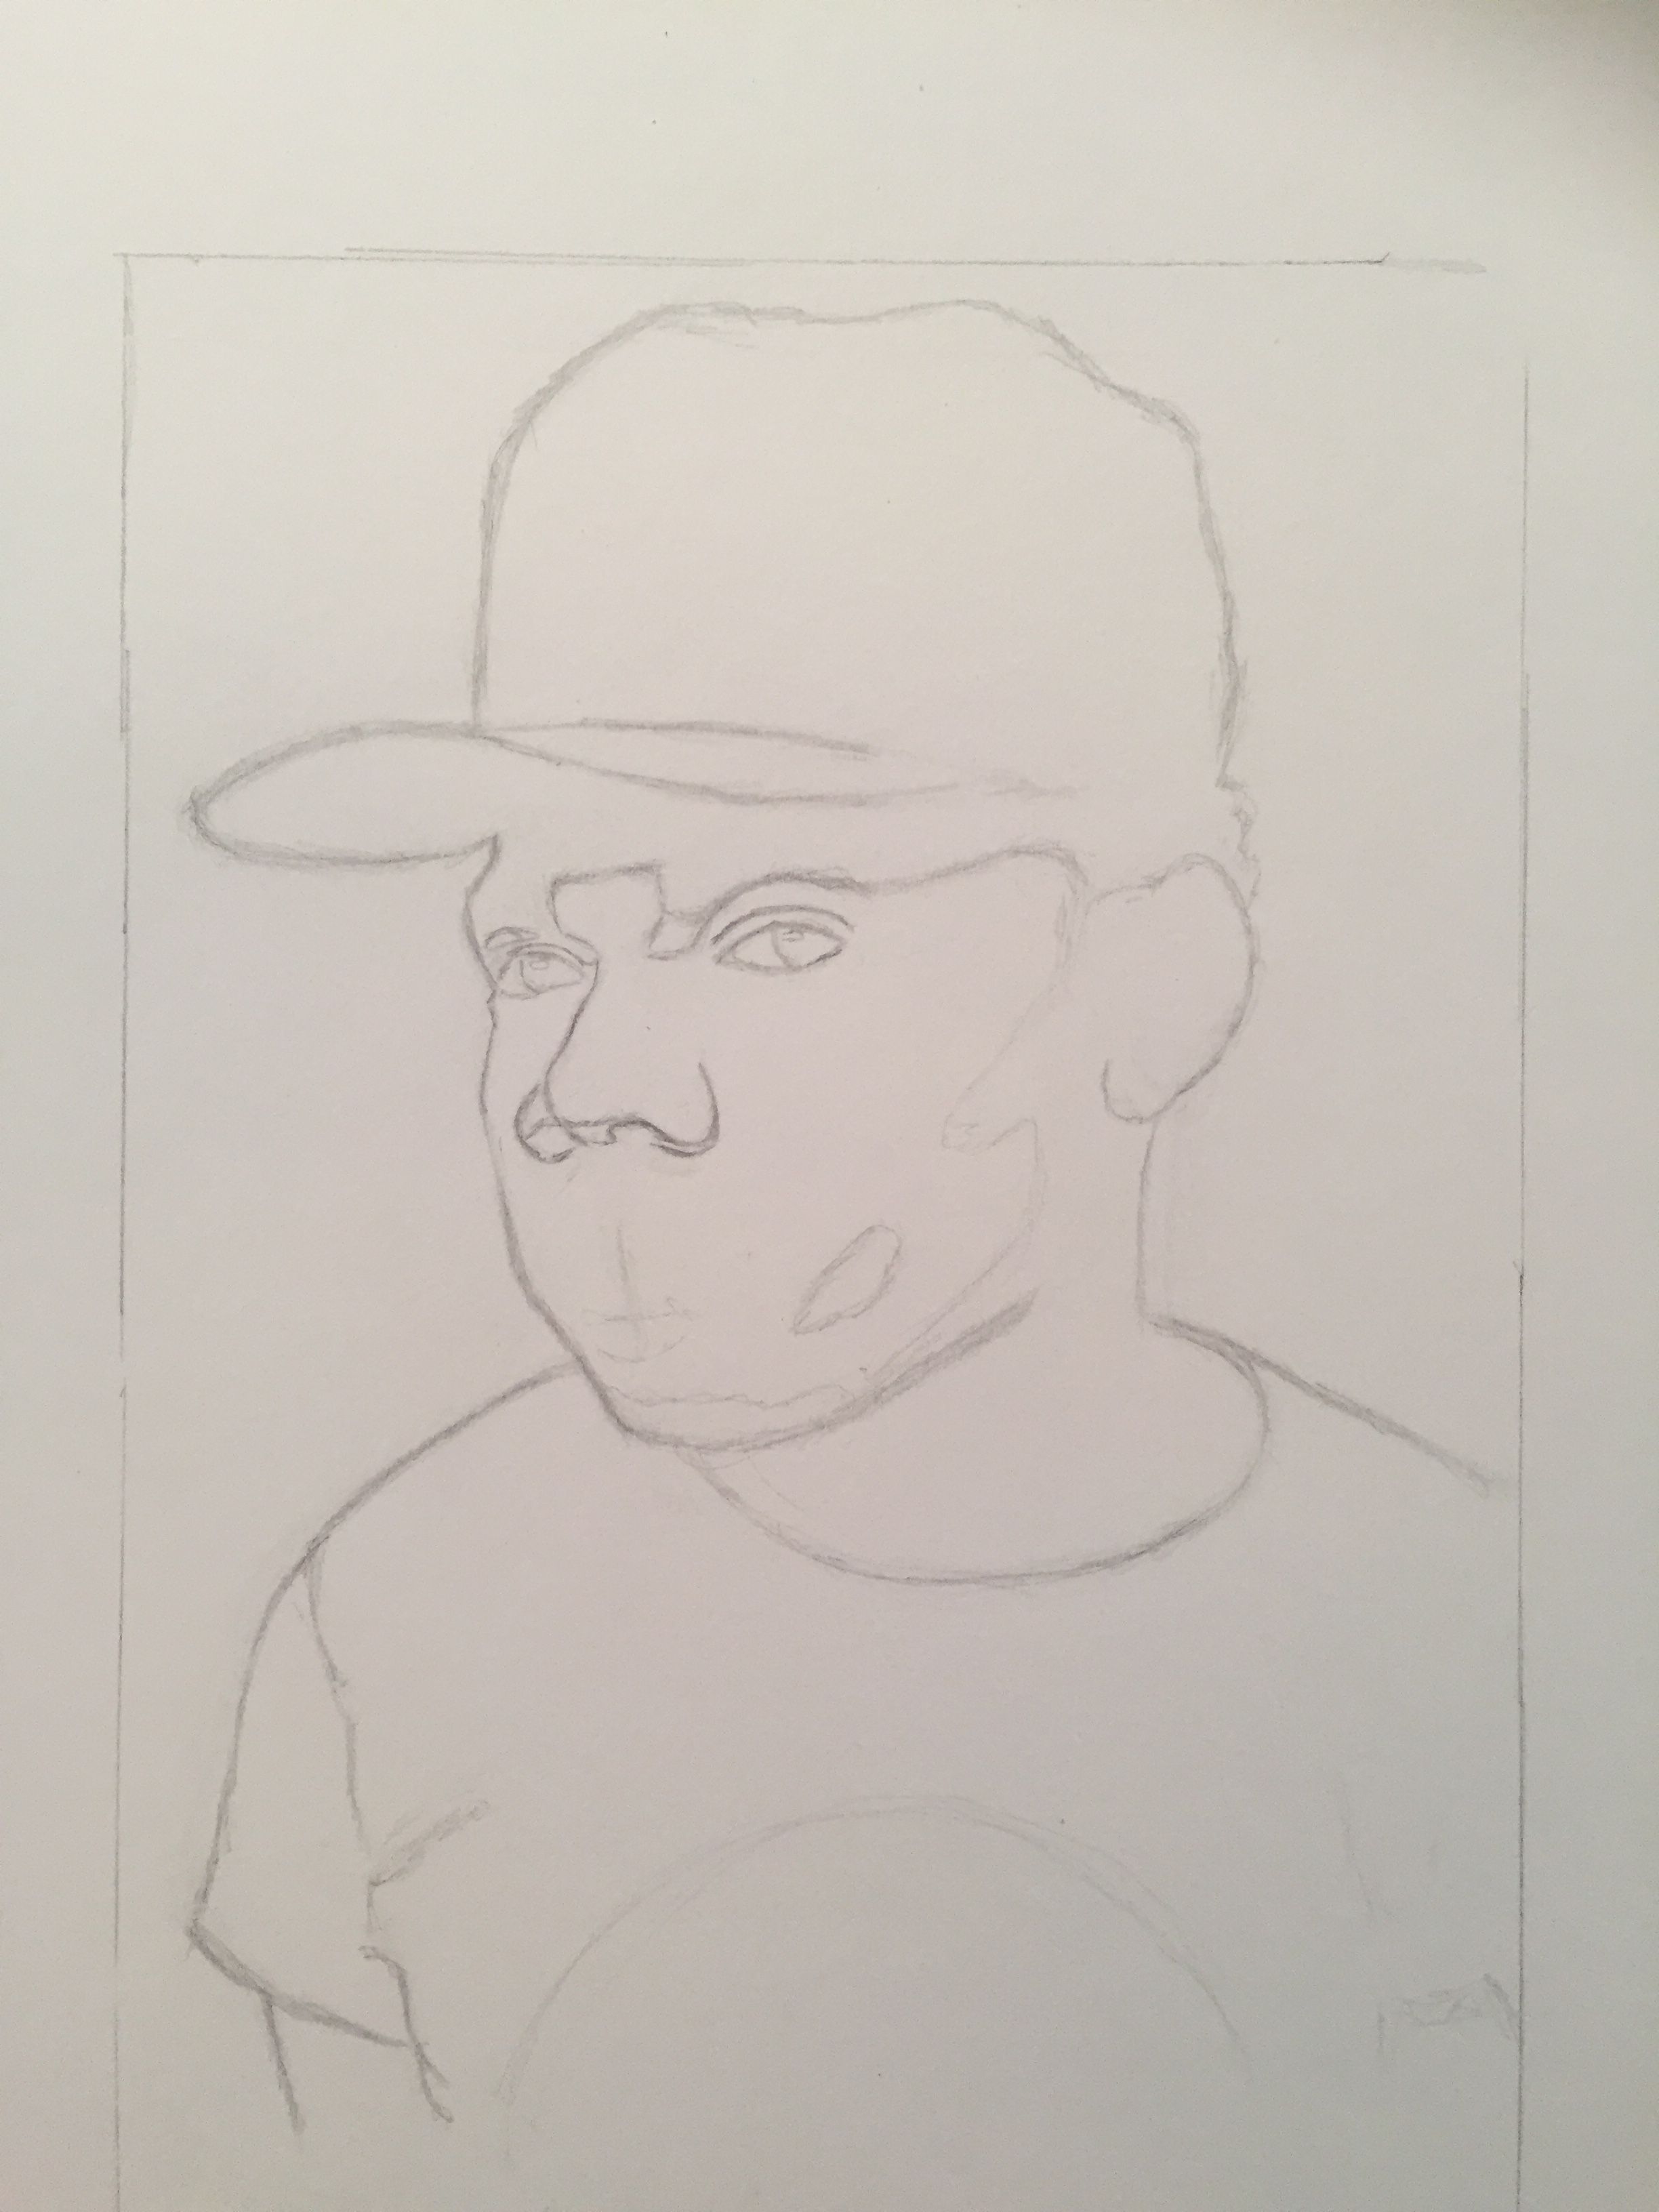
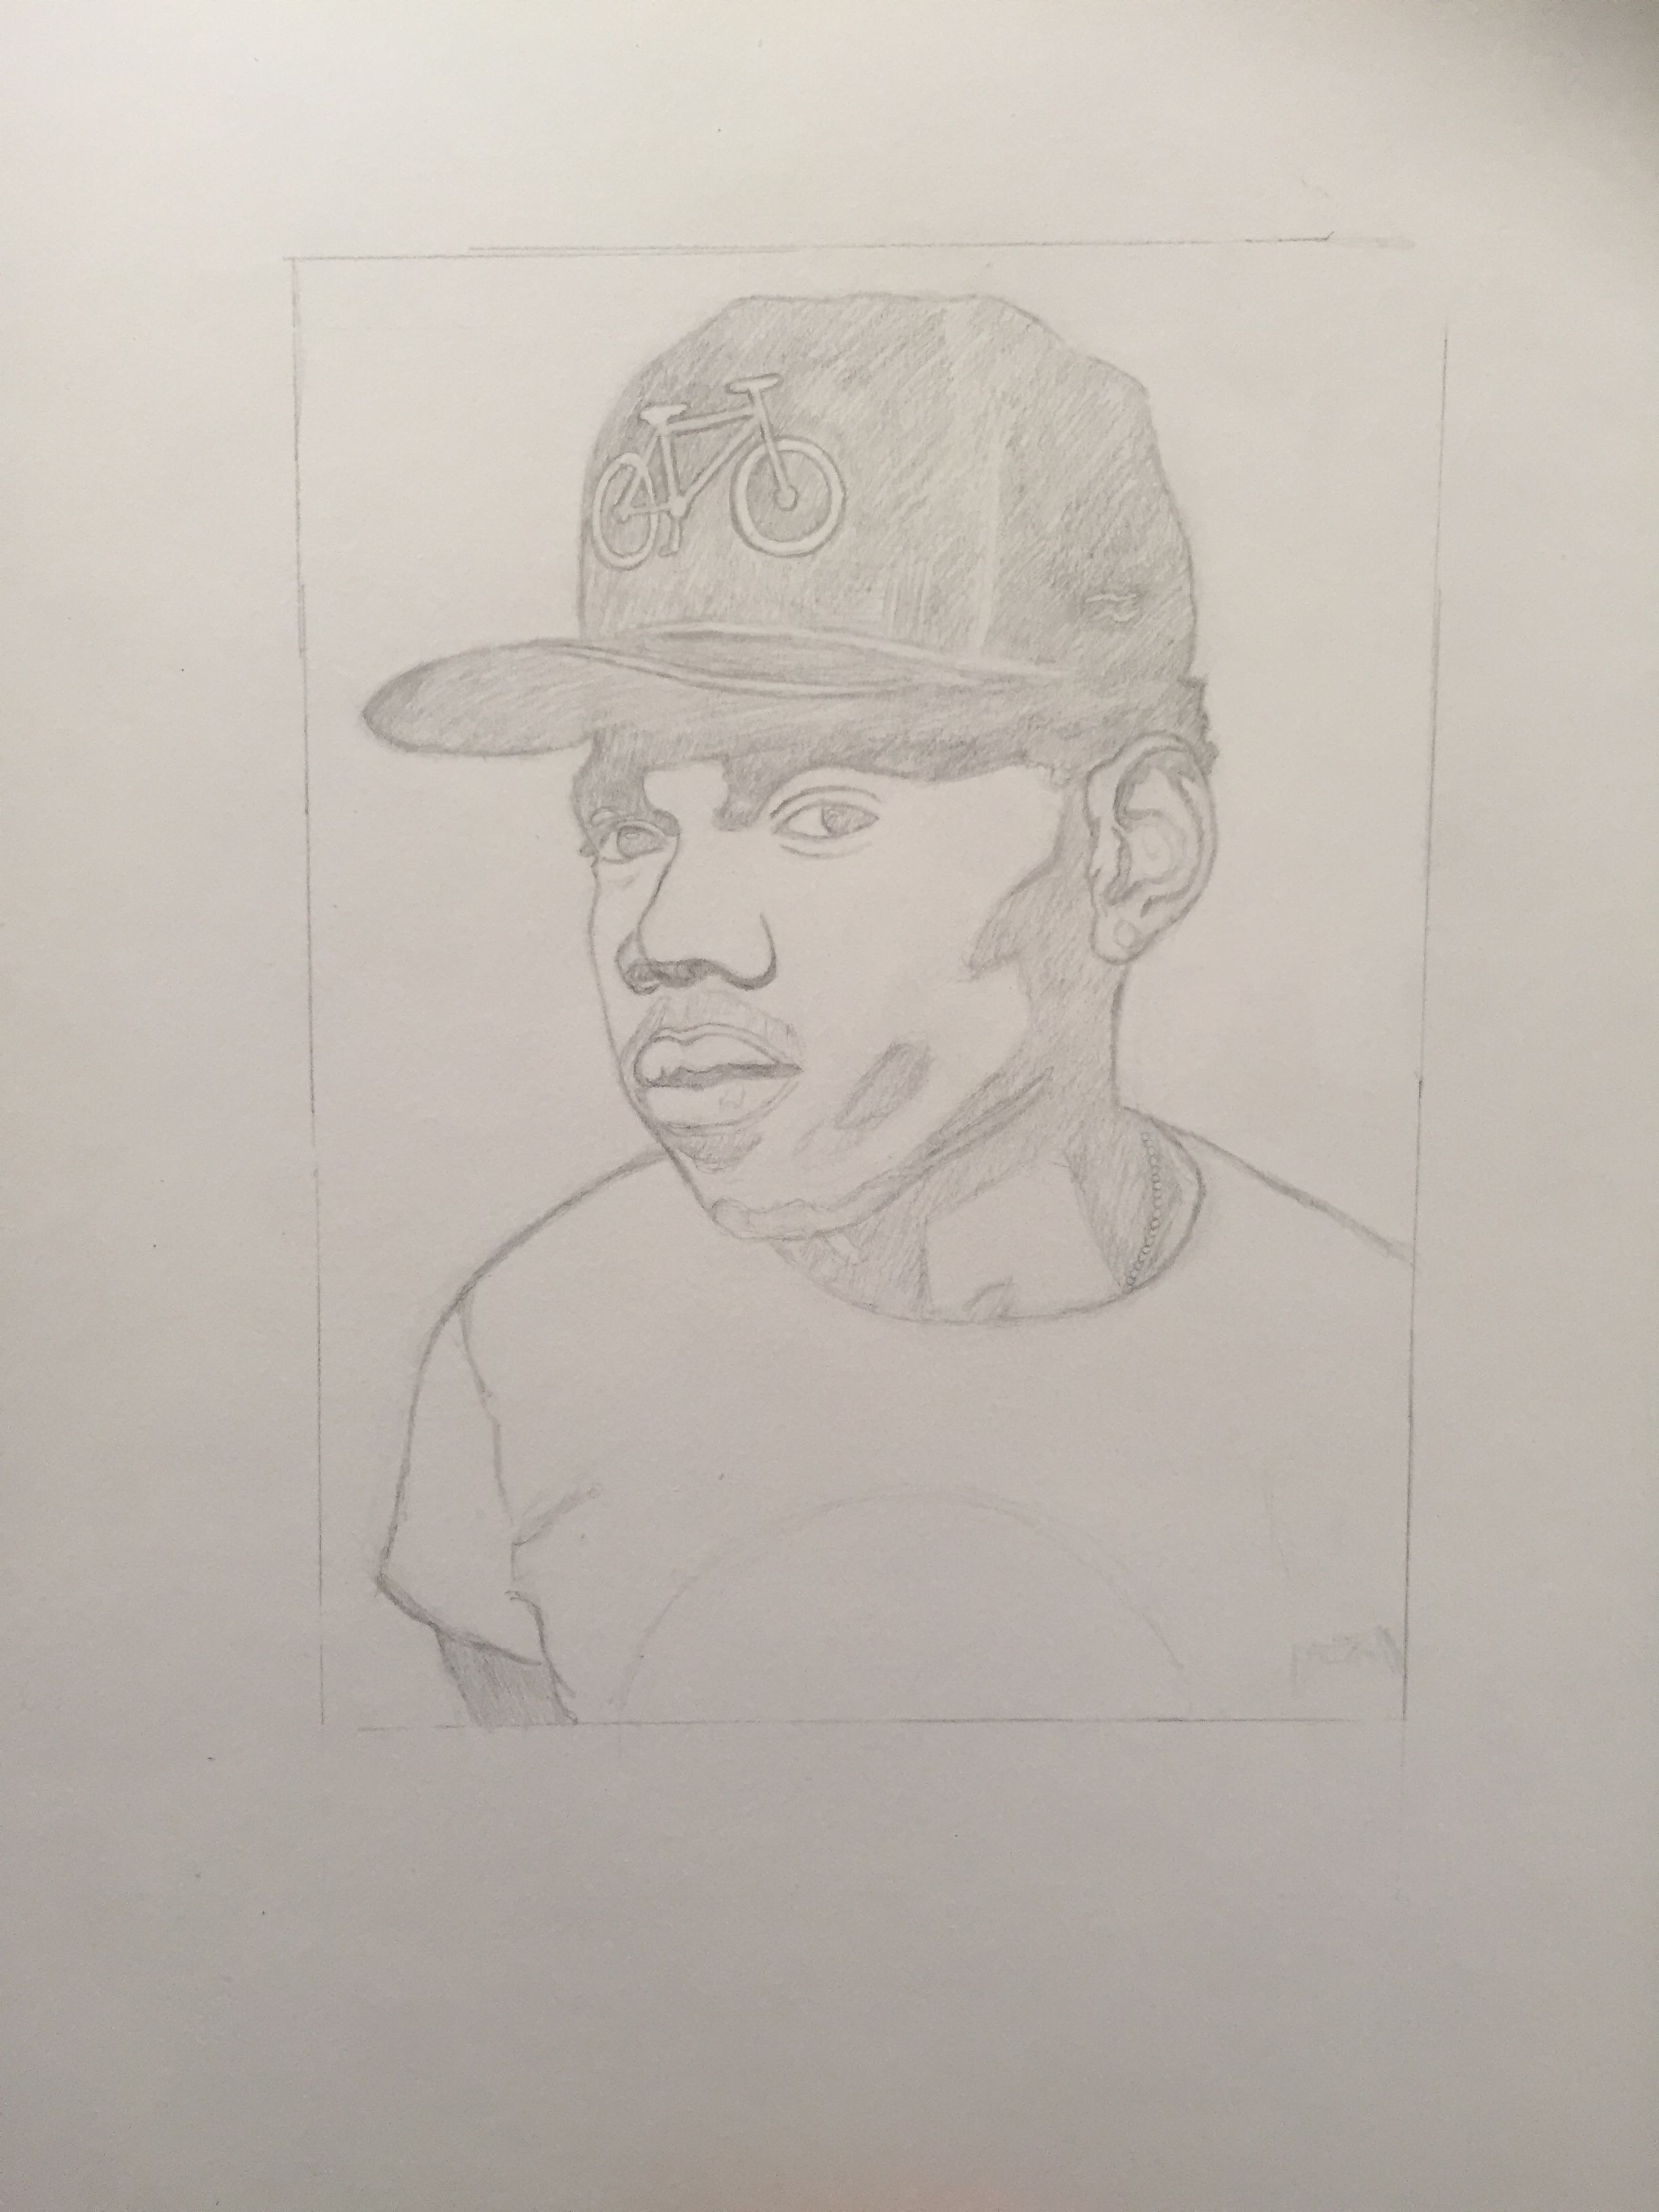
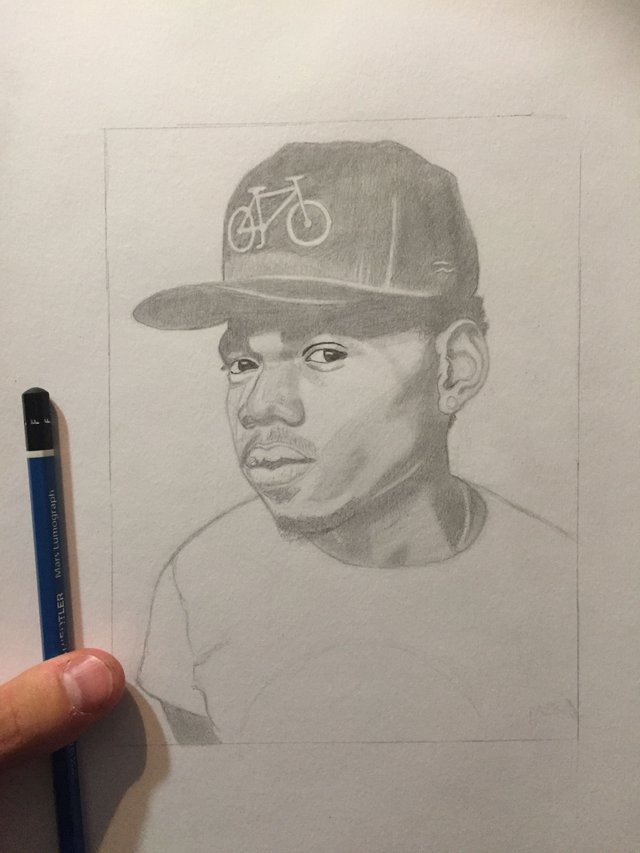
Ok, we will start off with the hat. really pay attention to the negative space we see. negative space is the area in between your subject and the edge of your frame. This will help you to learn to look at drawing bulk mass first rather then details right away.

Next draw these lines across the face very lightly, don't think of them as exact place holders rather just general guide lines for you to further envision placement of the eyes, as well as the angle of the face.
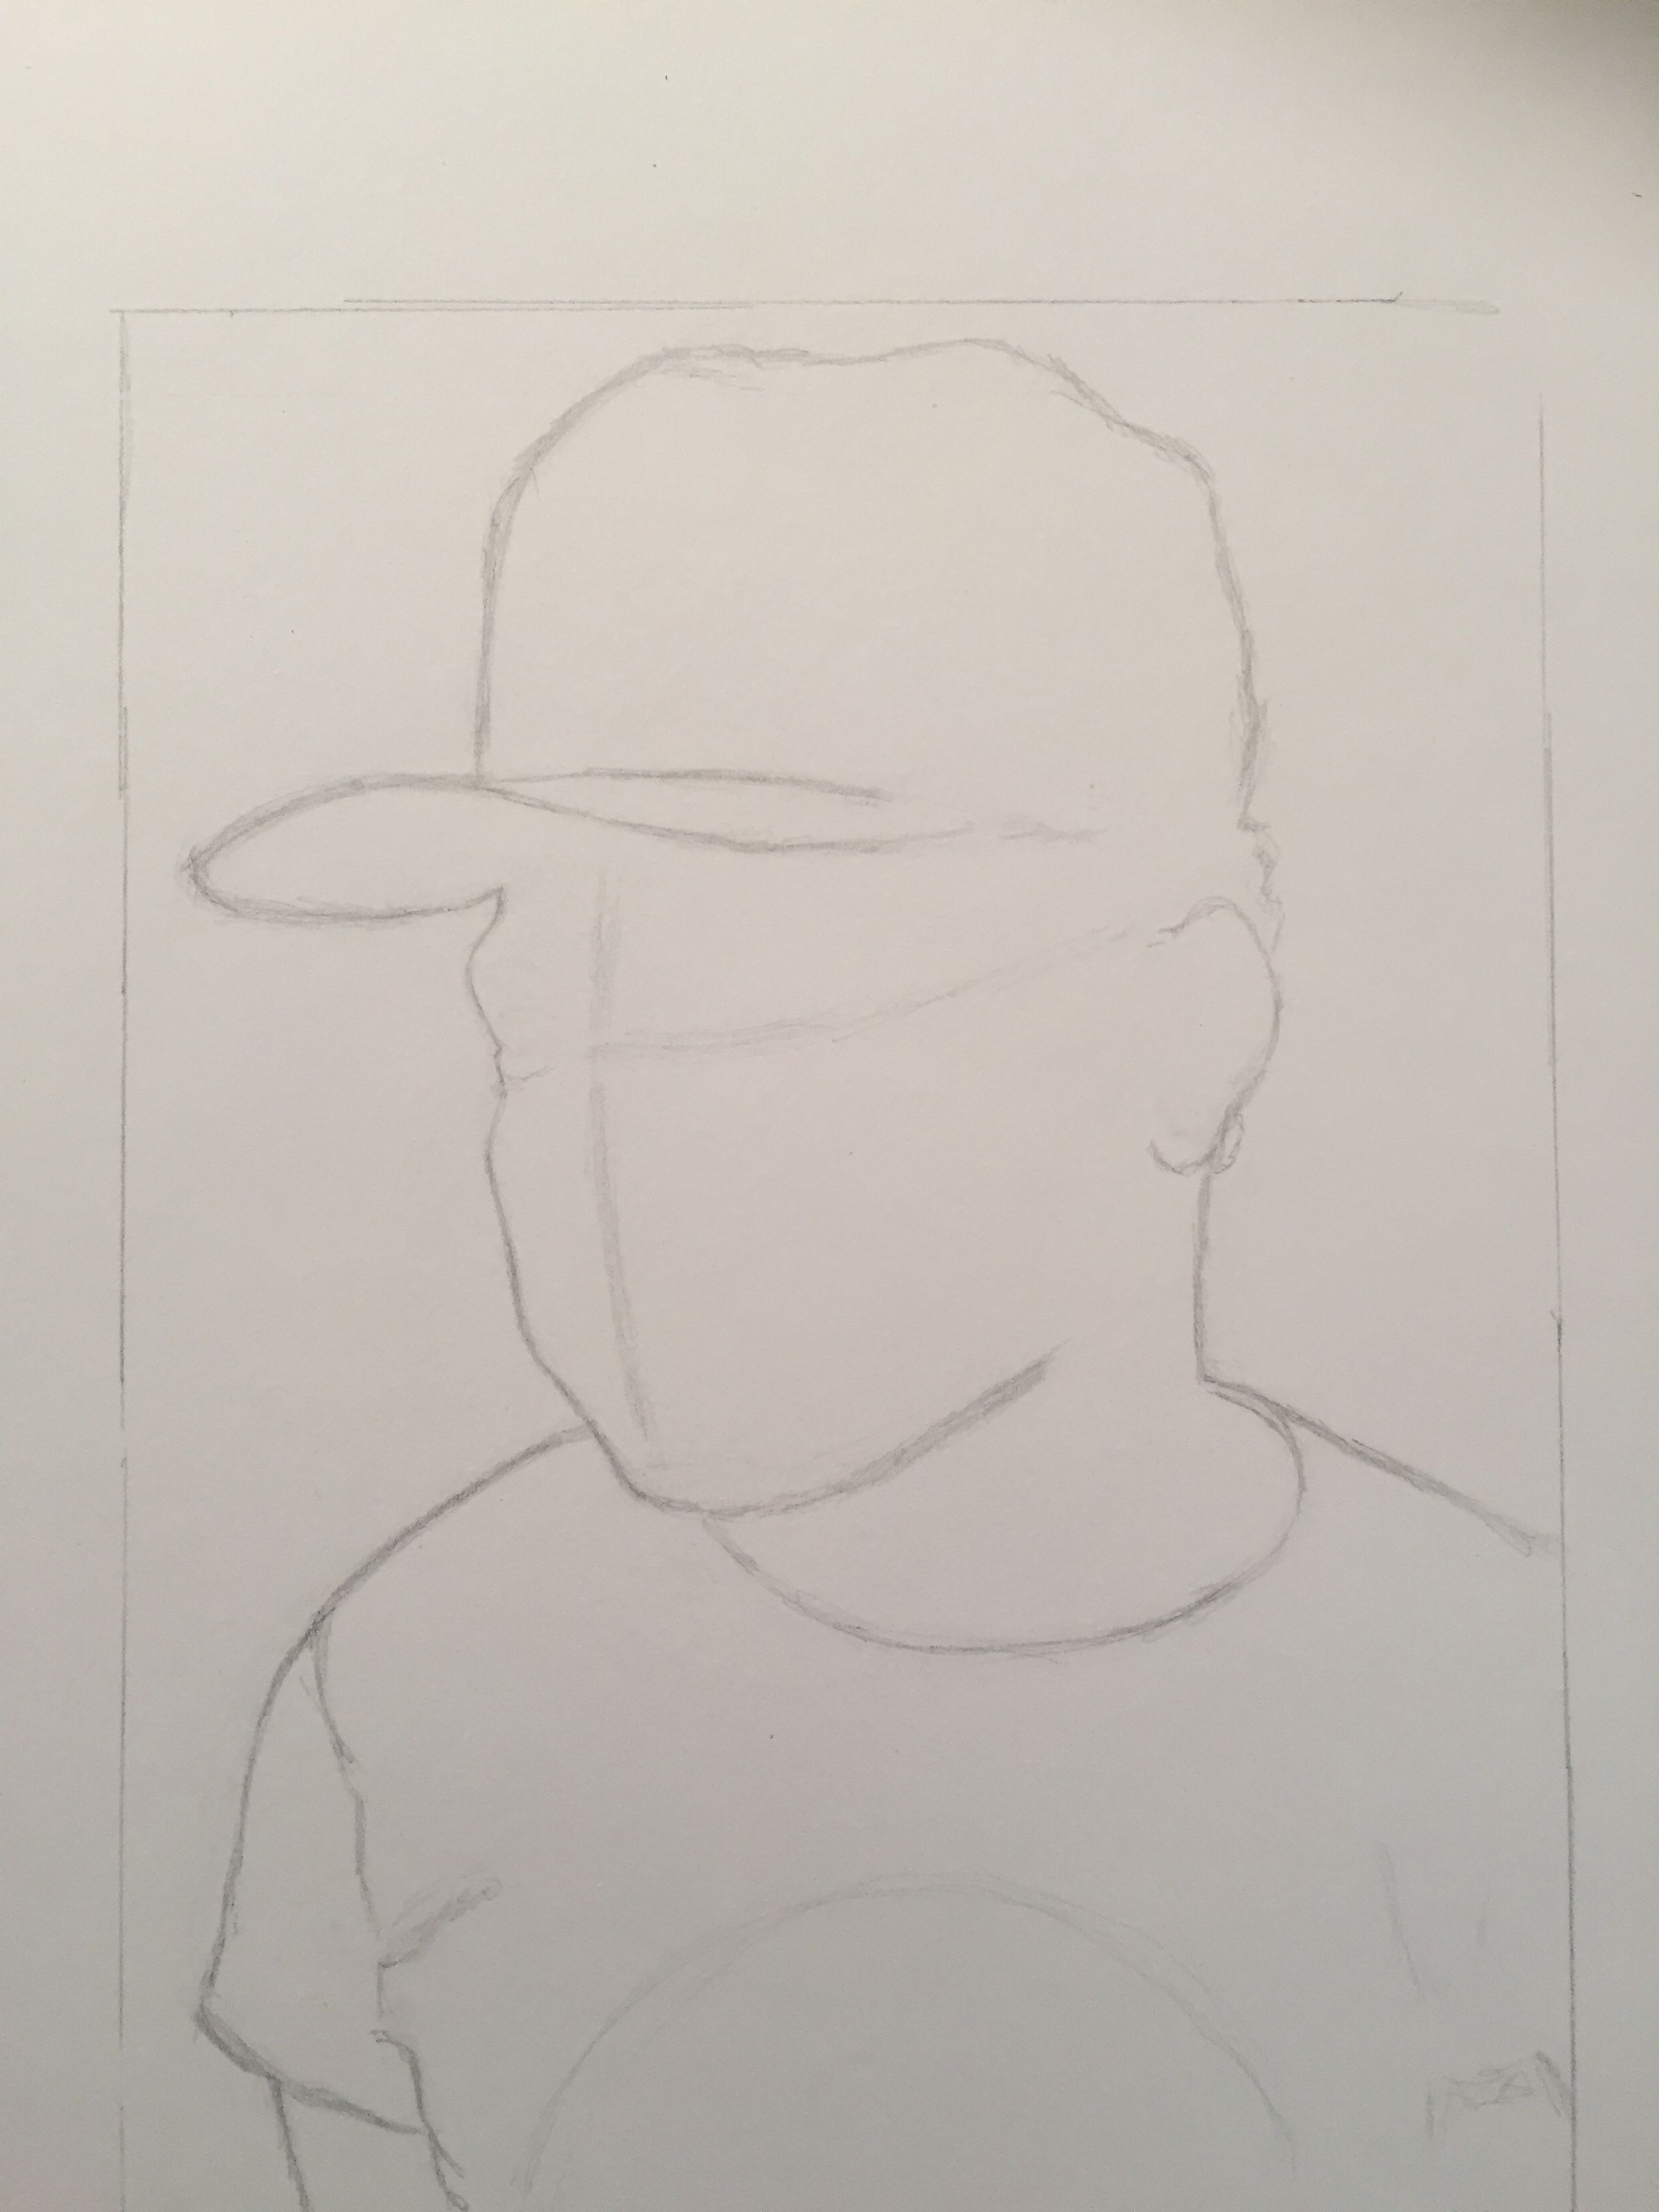
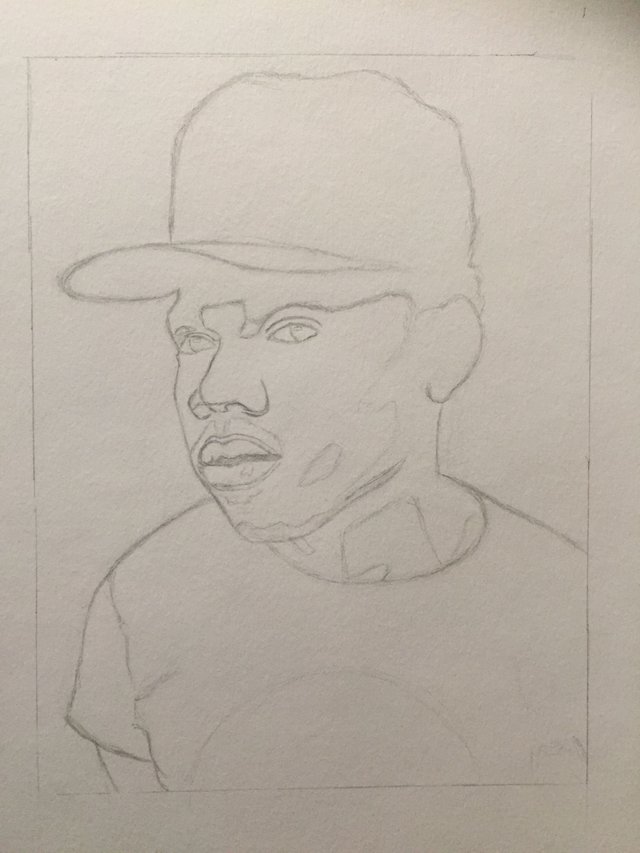
Next we can start to draw the simple shapes of the body, pay close attention to the angles as they are incredible important in capturing the likeness of your subject.
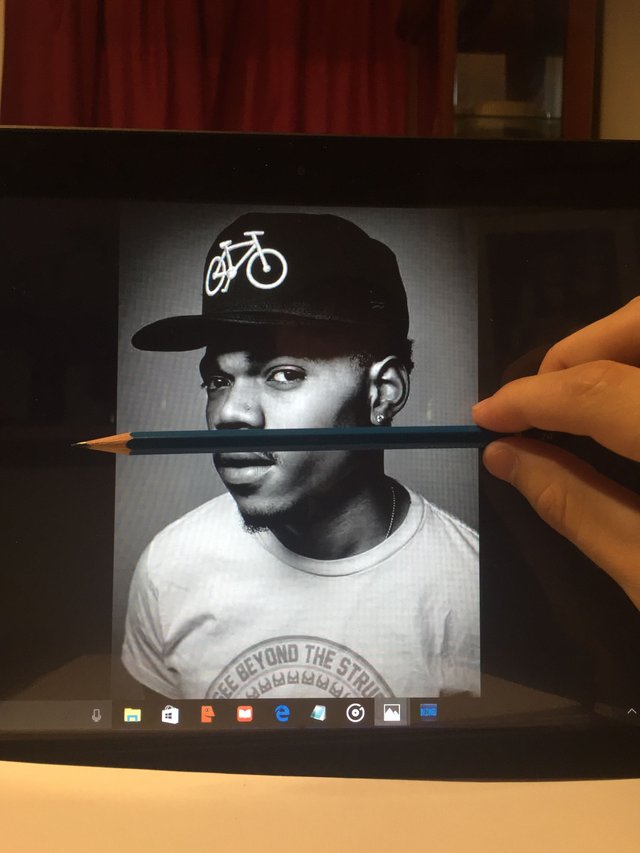
In order to get the placement and proportions of your lines correct, hold up a straight edge horizontal to your reference image. Take note as to what lines match up do these for multiple areas of your portrait to make sure everything is in the right place.
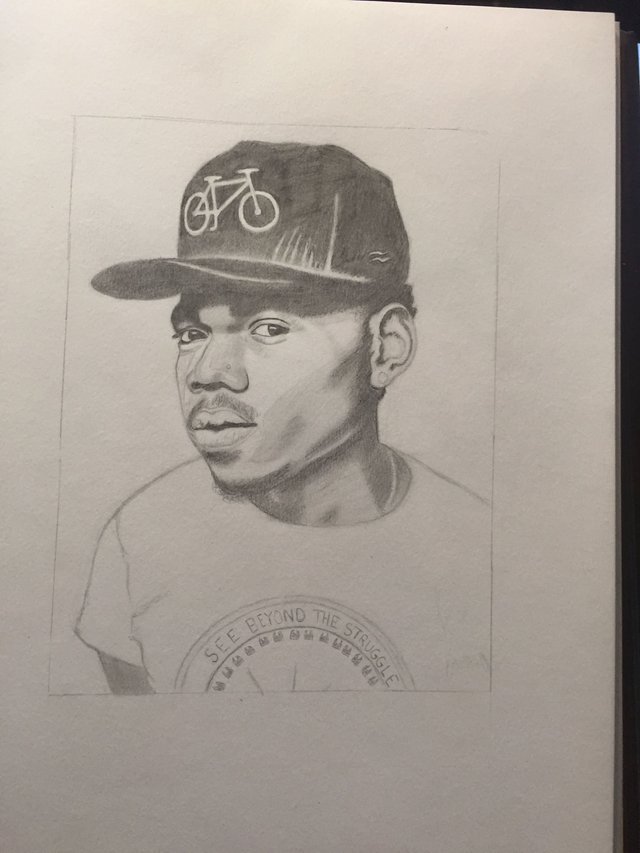
These next lines we will need to draw will distinguish the darkest shadows of the face.
Draw the shapes in for the neck shadows, mustache lips.
And now the inner ear details.
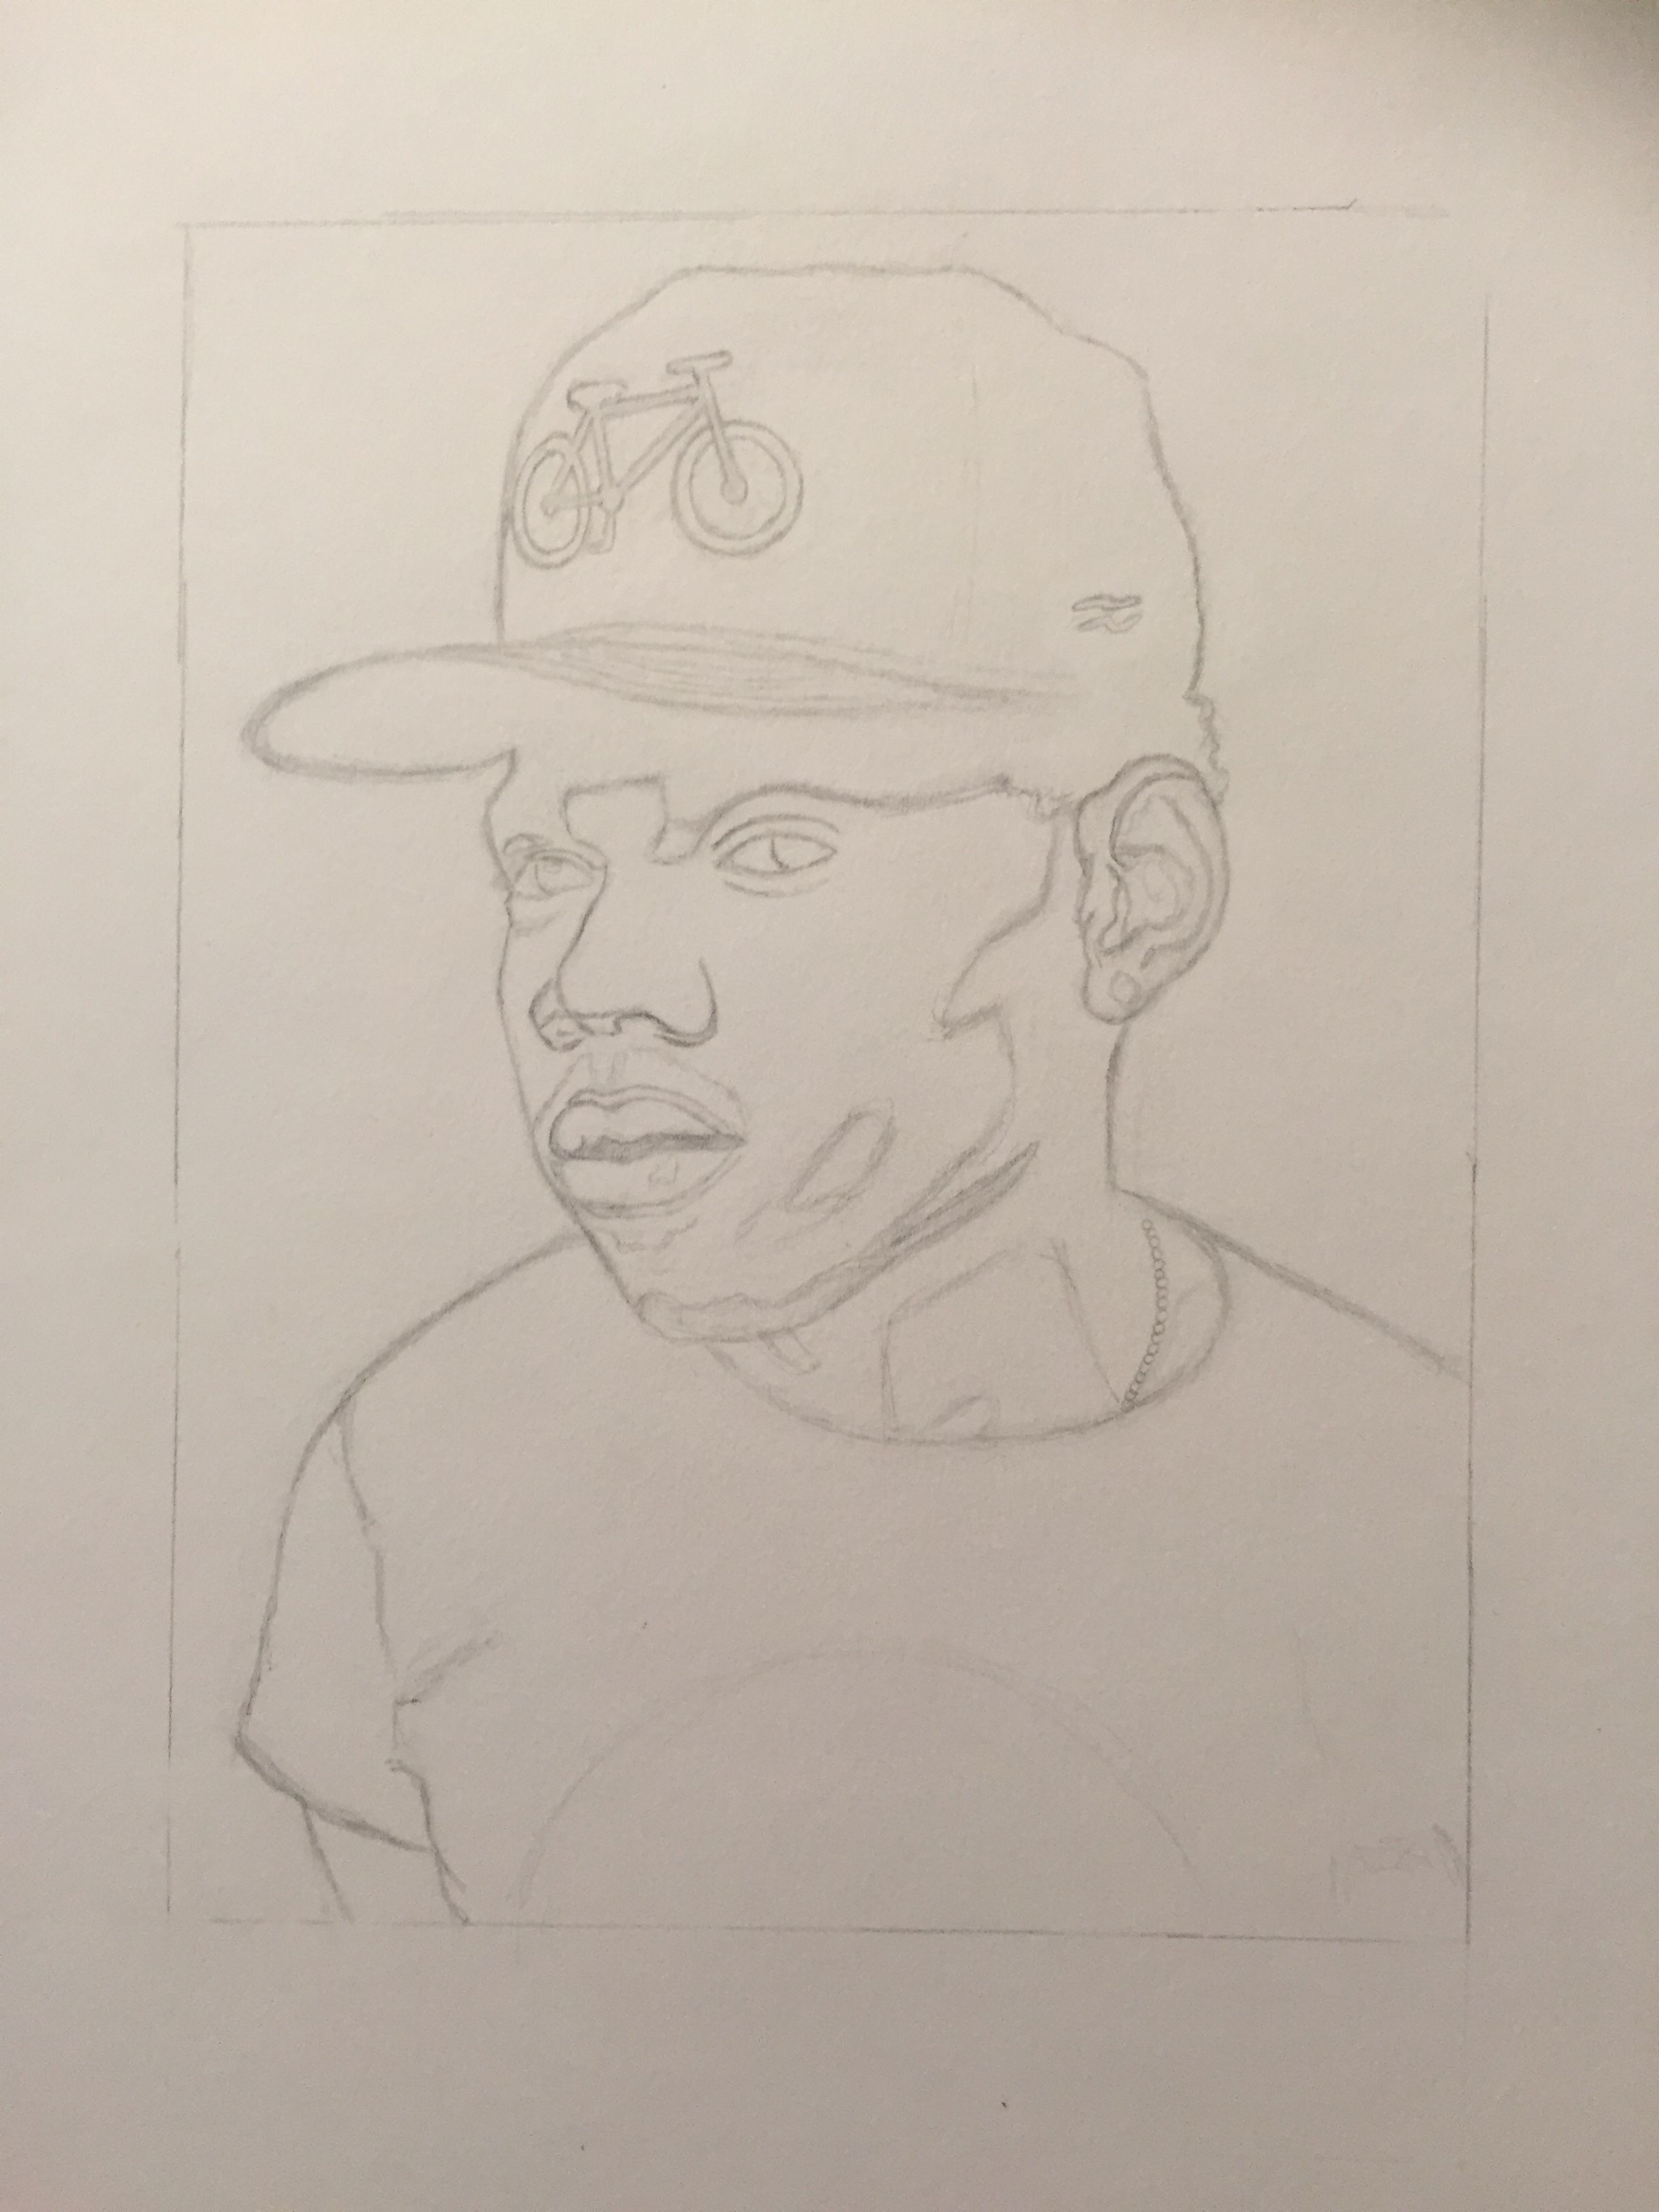
And then the little bike on the hat
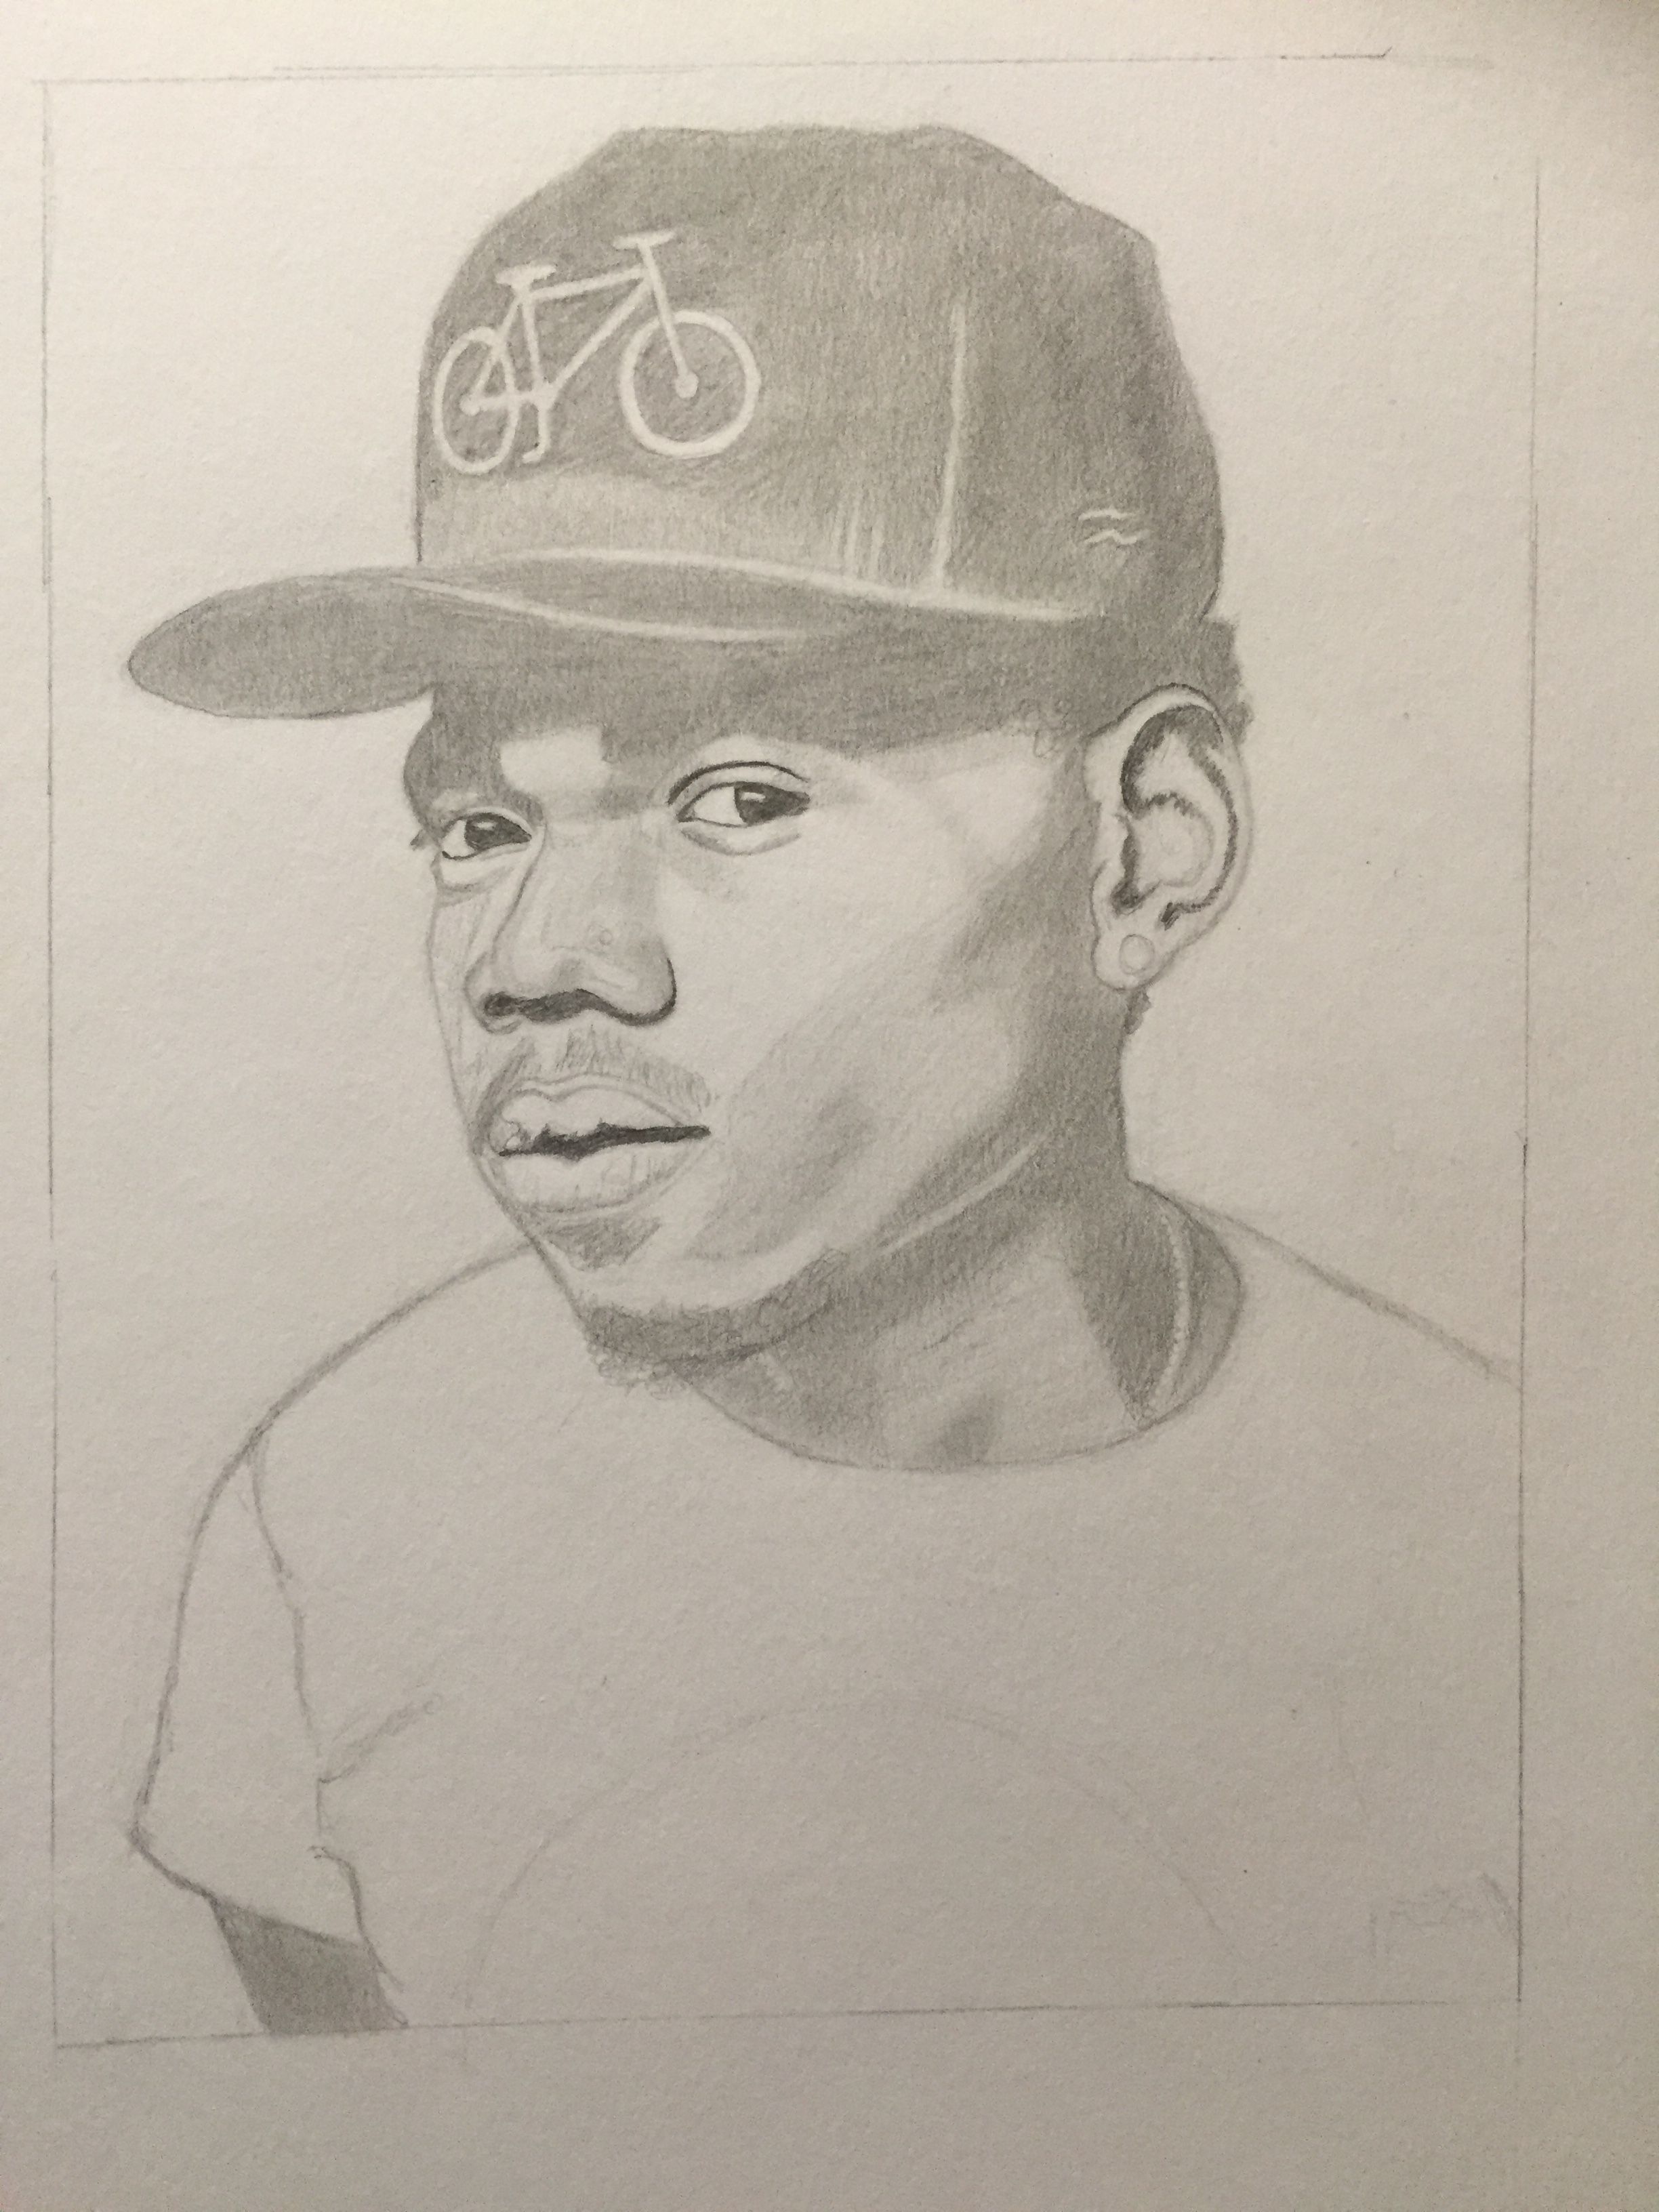
A good range of tones in an art piece will make the difference between an ok and amazing drawing. so starting the shading we wont dive right into using the darkest pencil. start light and build your way up. this also prevents a lot of graphite mess on your page early into your art piece
Use your shader to smooth out the graphite and give it a much cleaner look
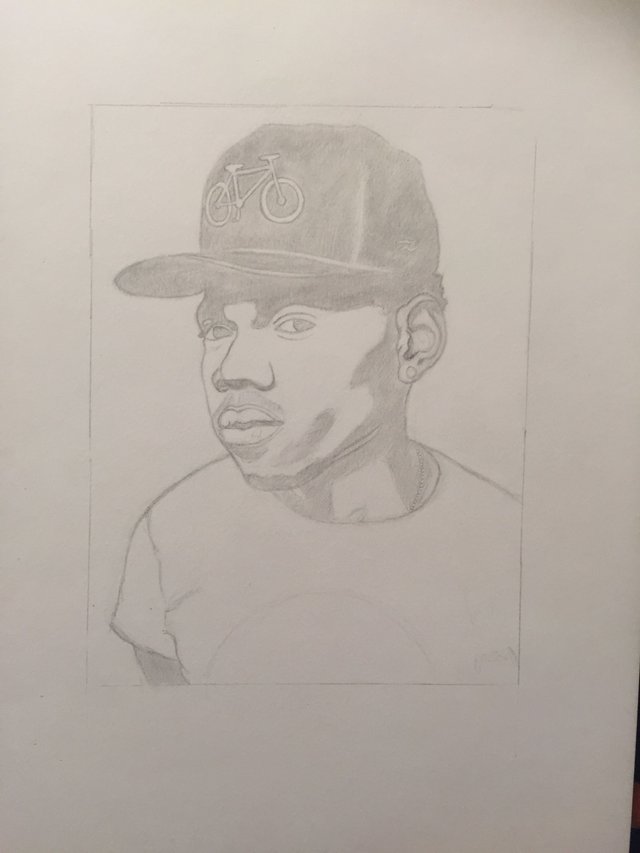
Again continue to darken the deepest shadows on the face only. This time use about a b grade pencil.
Go ahead and smooth out the graphite once again.

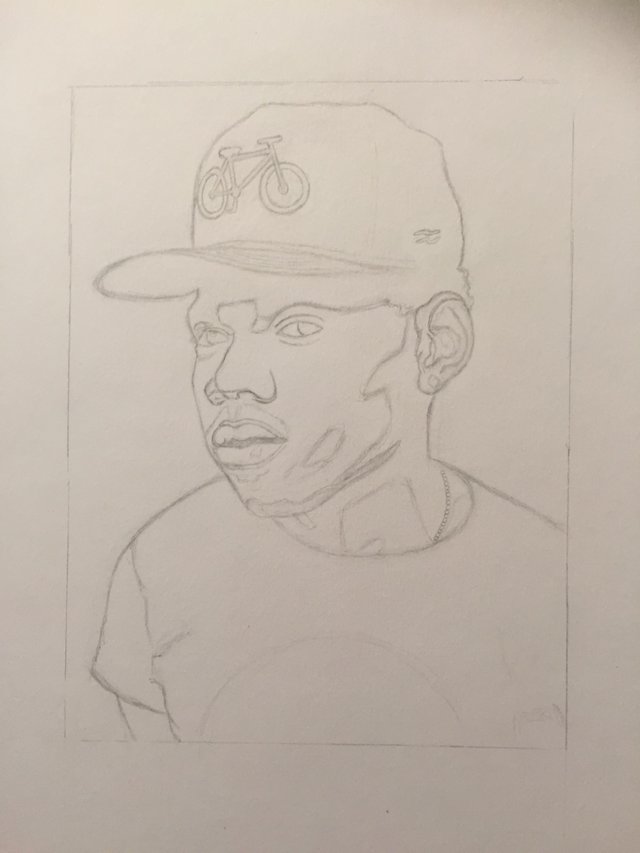
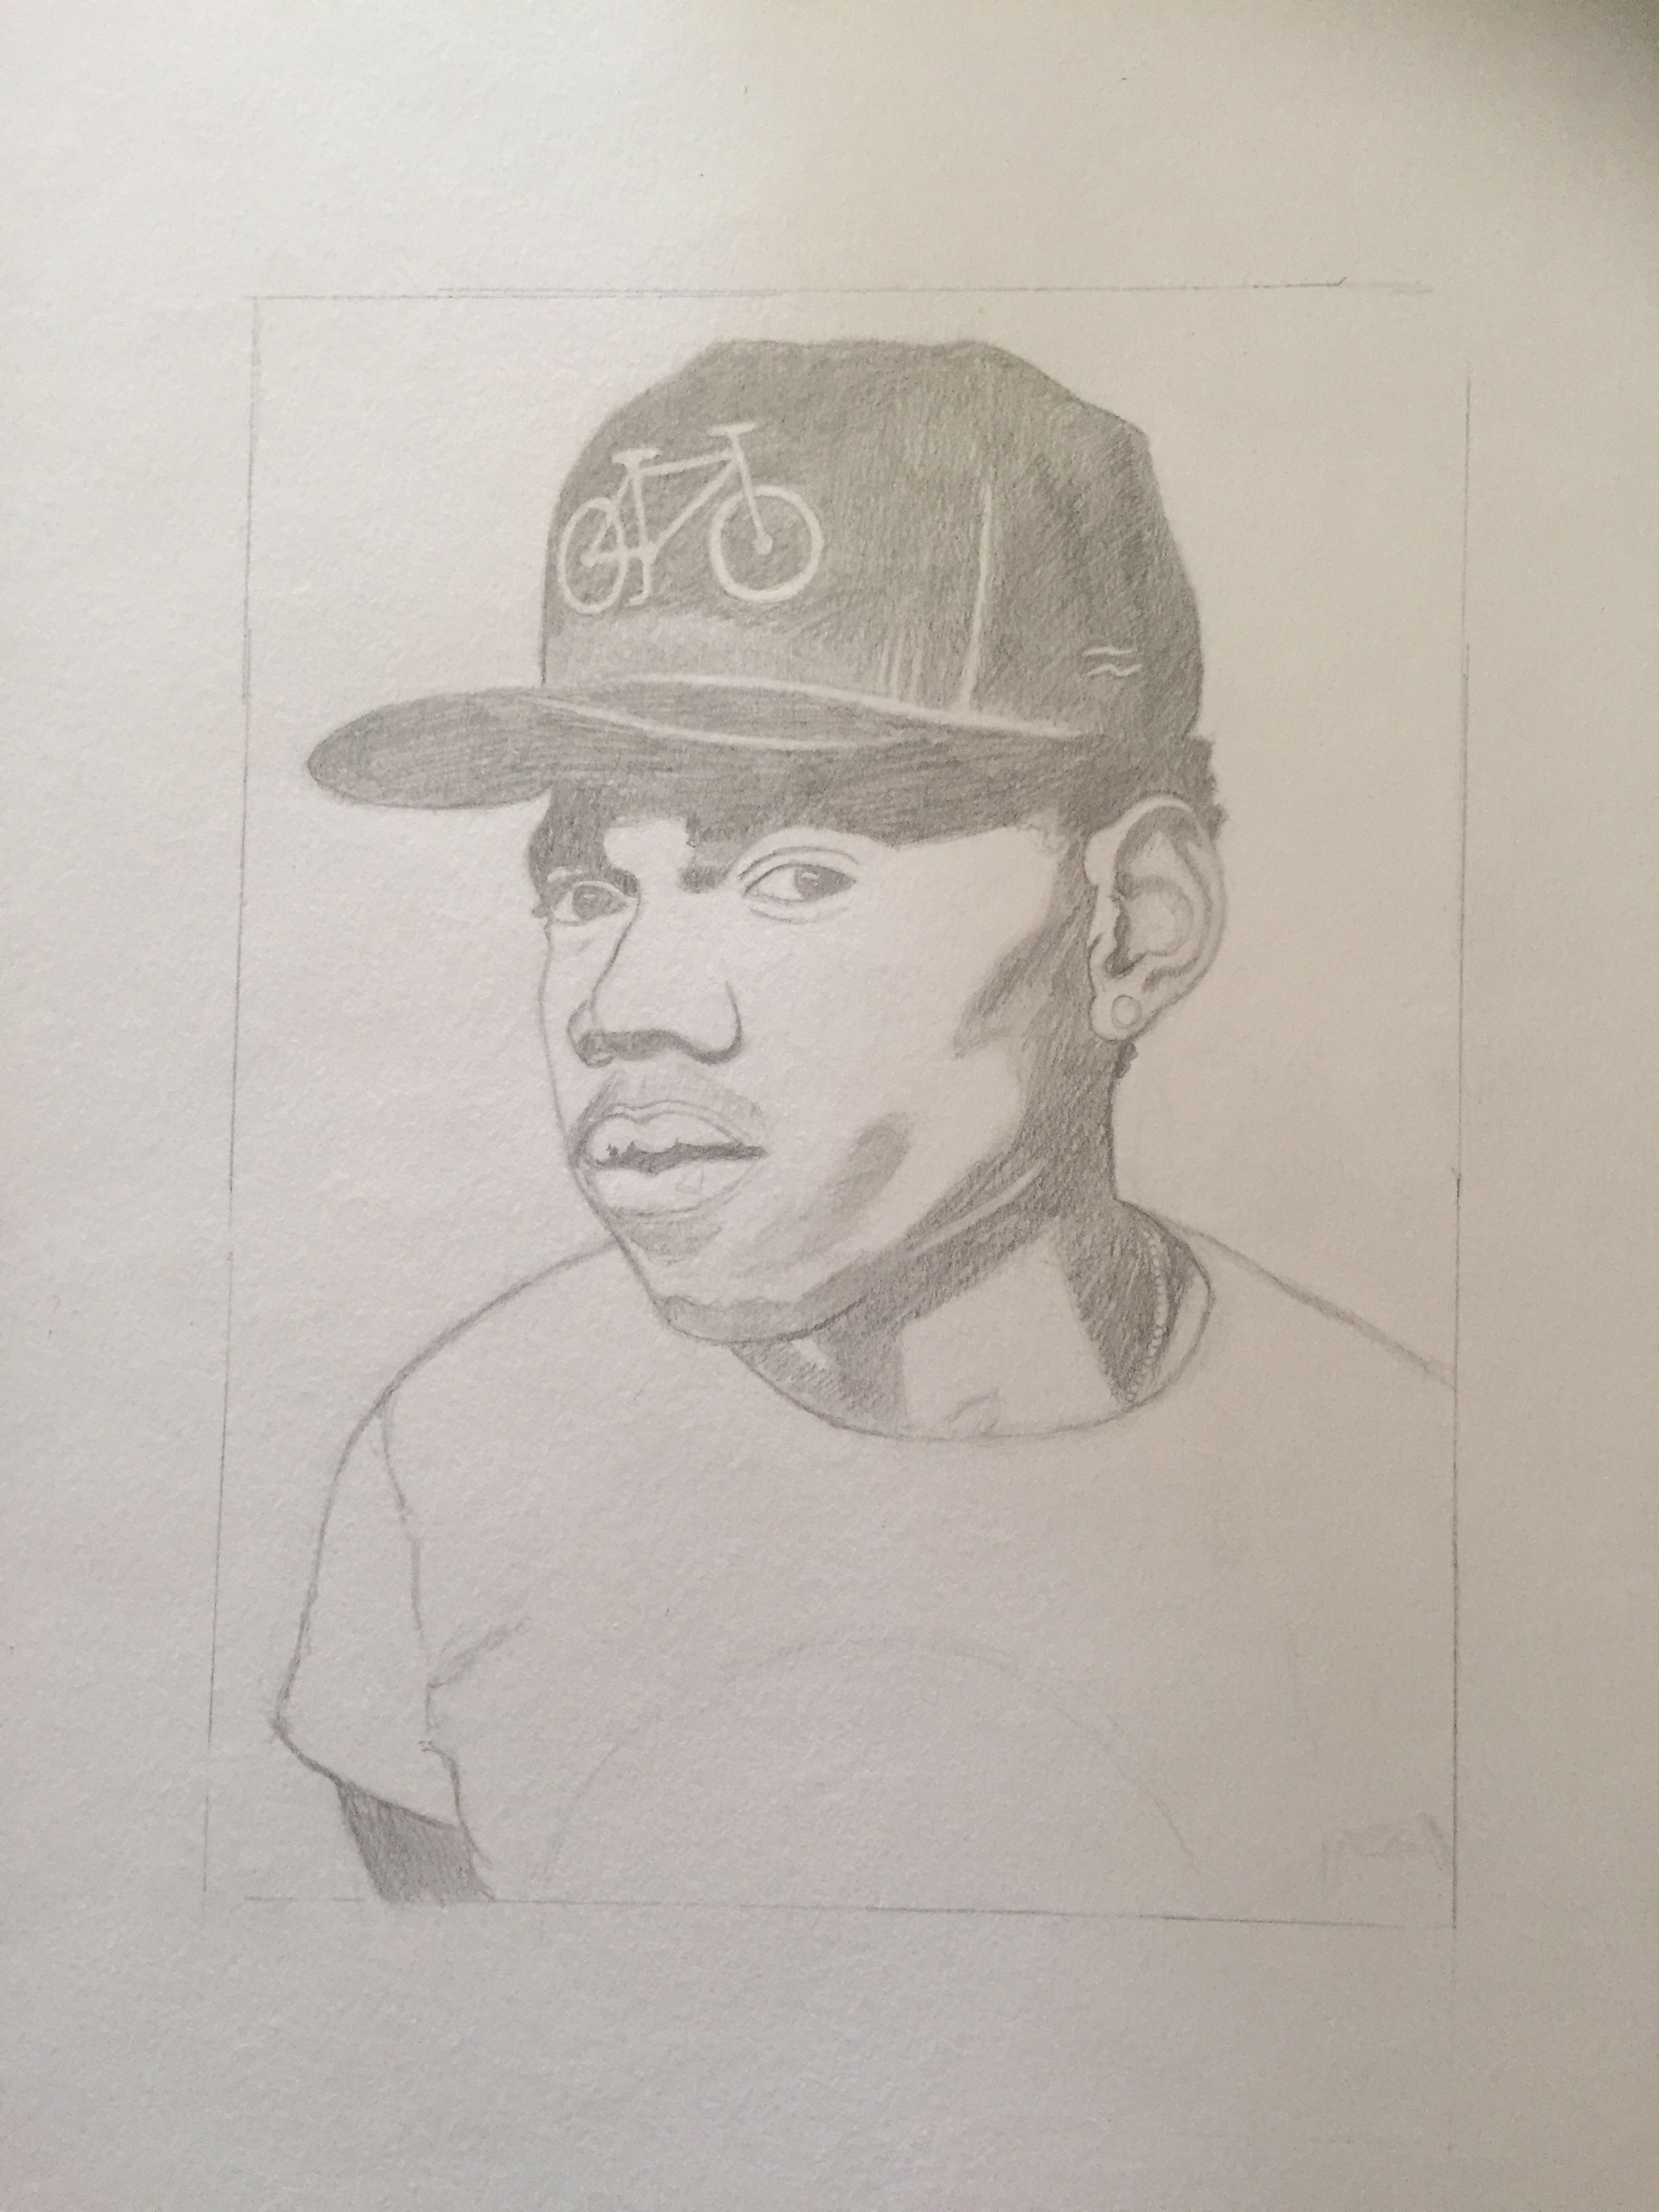
Now we are getting into the seconds level of shadows on the face, add in these new lines and shapes to separate your new tones
Use a 2h pencil and shade in those shapes you see done on the example picture. keep in mind the shades on the nose will not be very deep at all in finished product so don't get carried away with shading this area.

Use your shader to clean it up. if you end up shading in an area that should be lighter just go in with your eraser and touch it up.

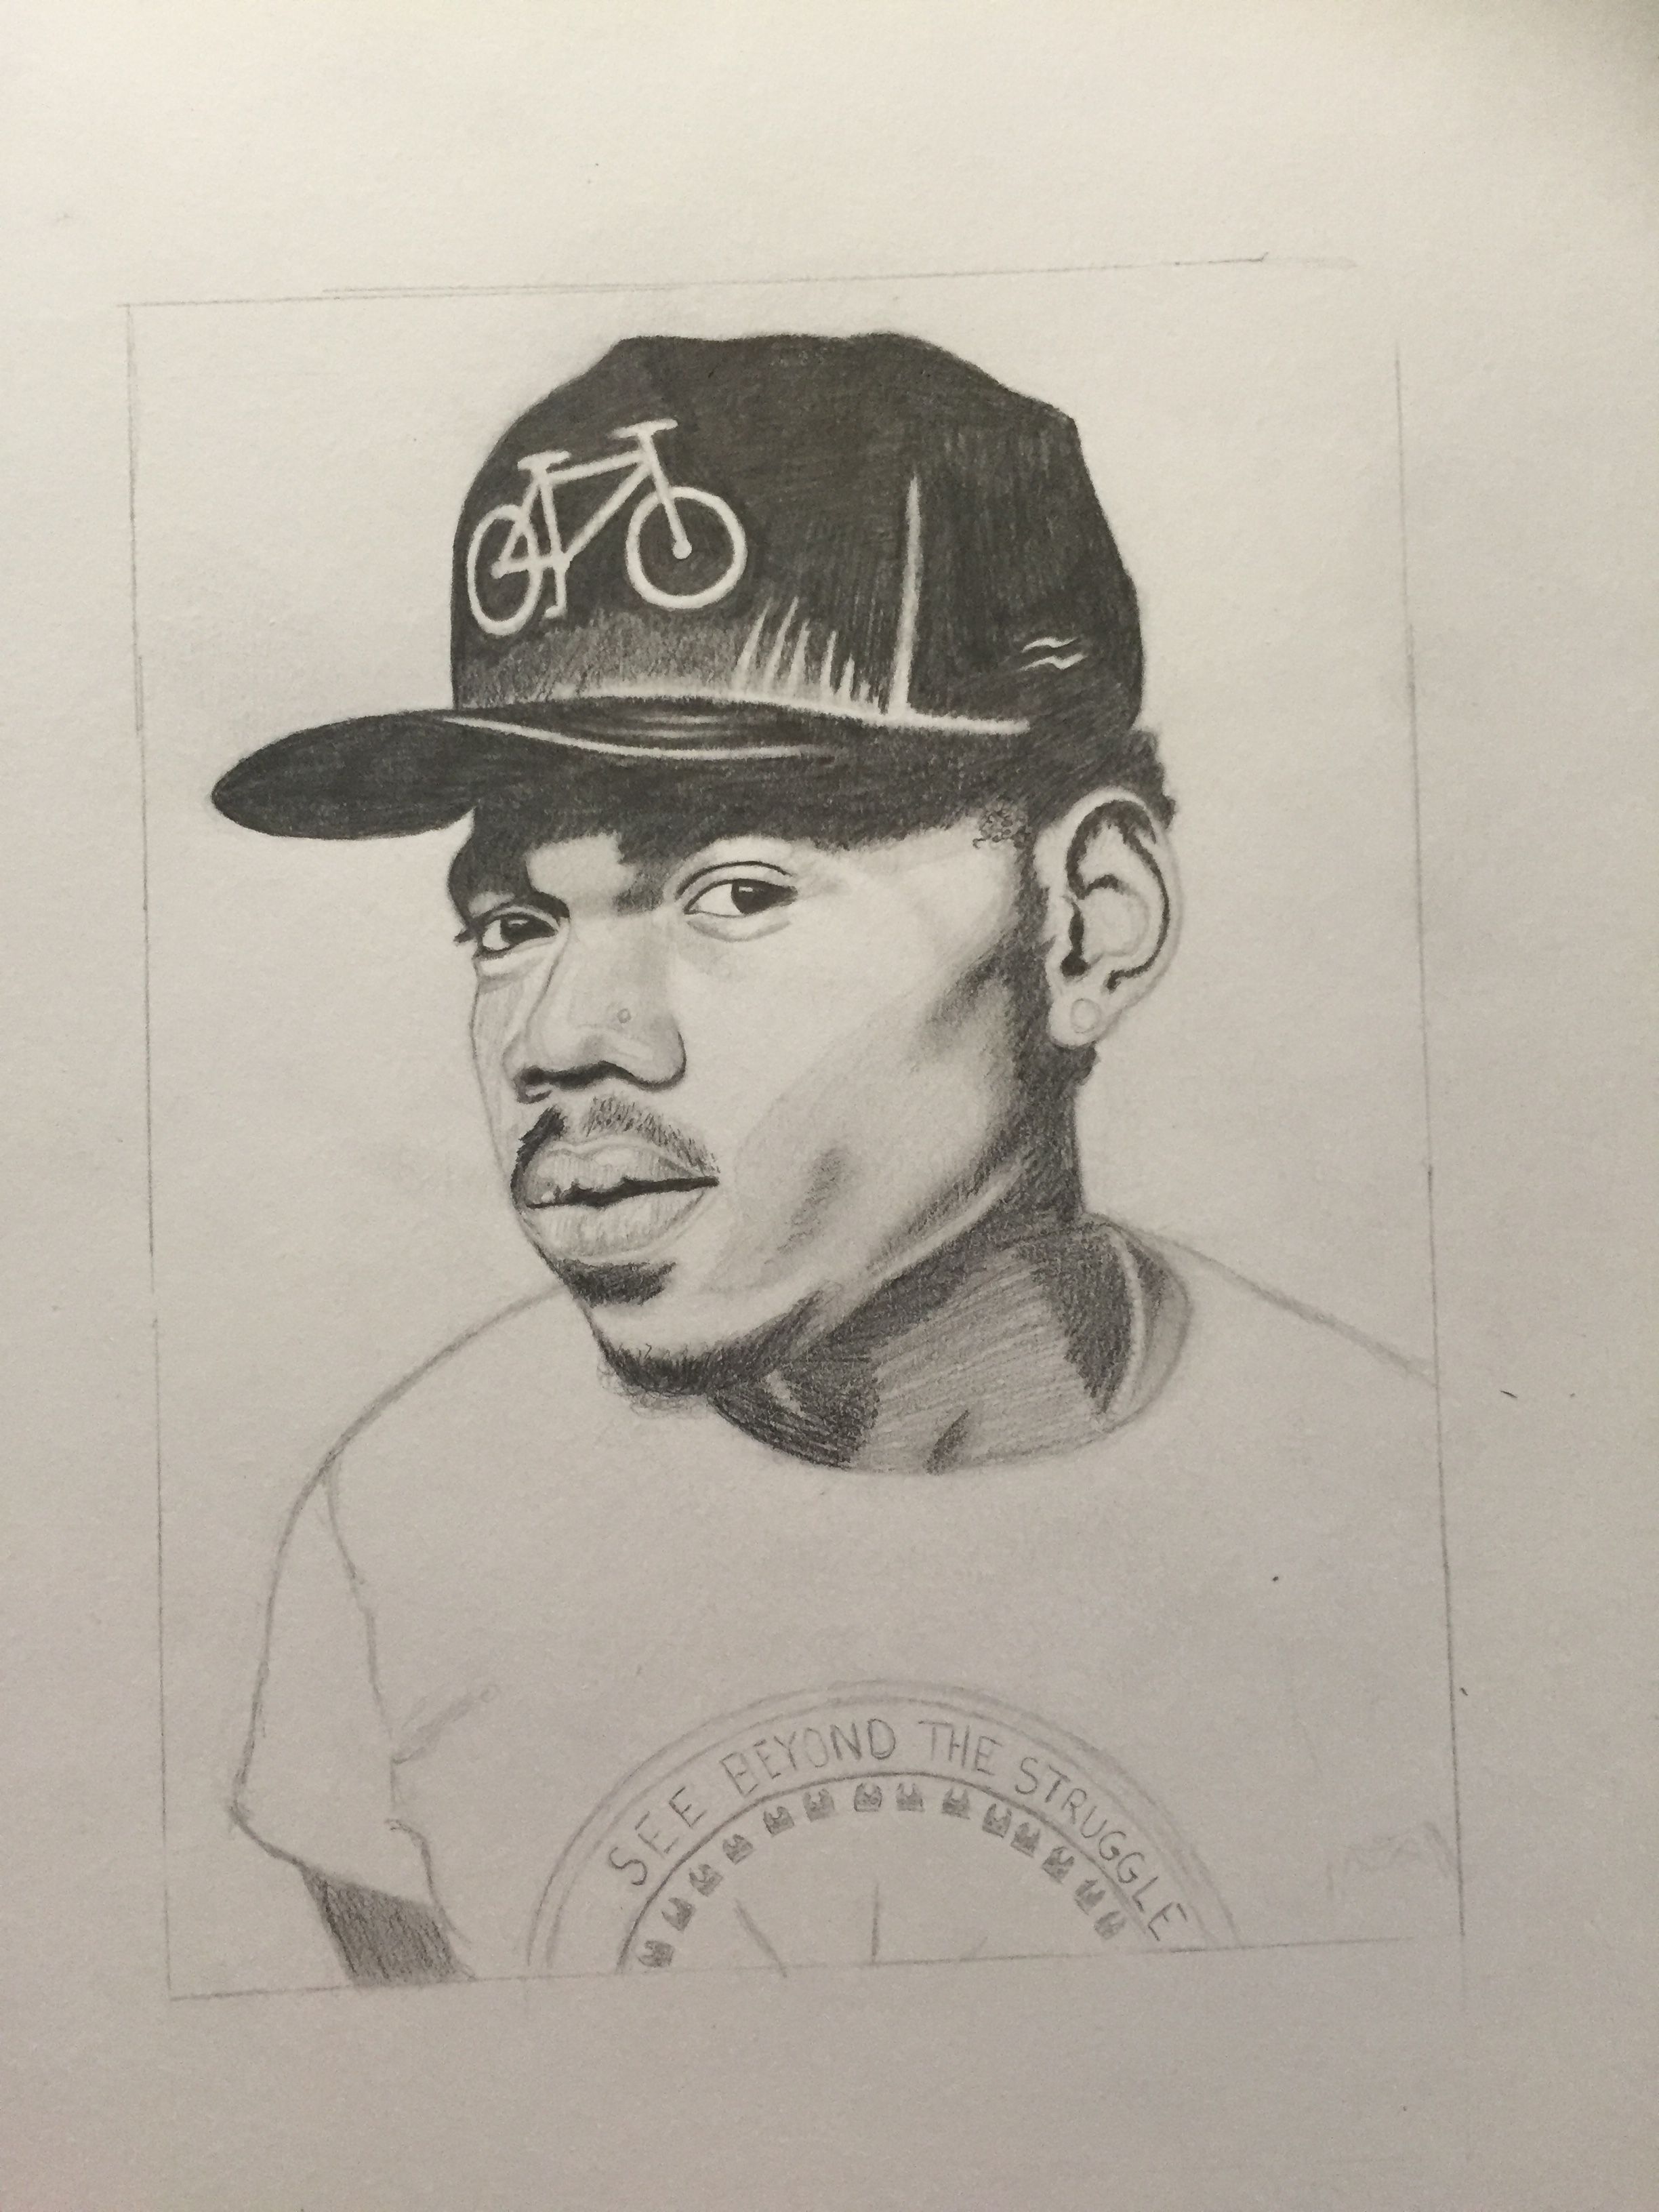
Now its time to start adding line weight to our eyes. Use a darker pencil and make sure the tip is well sharpened.
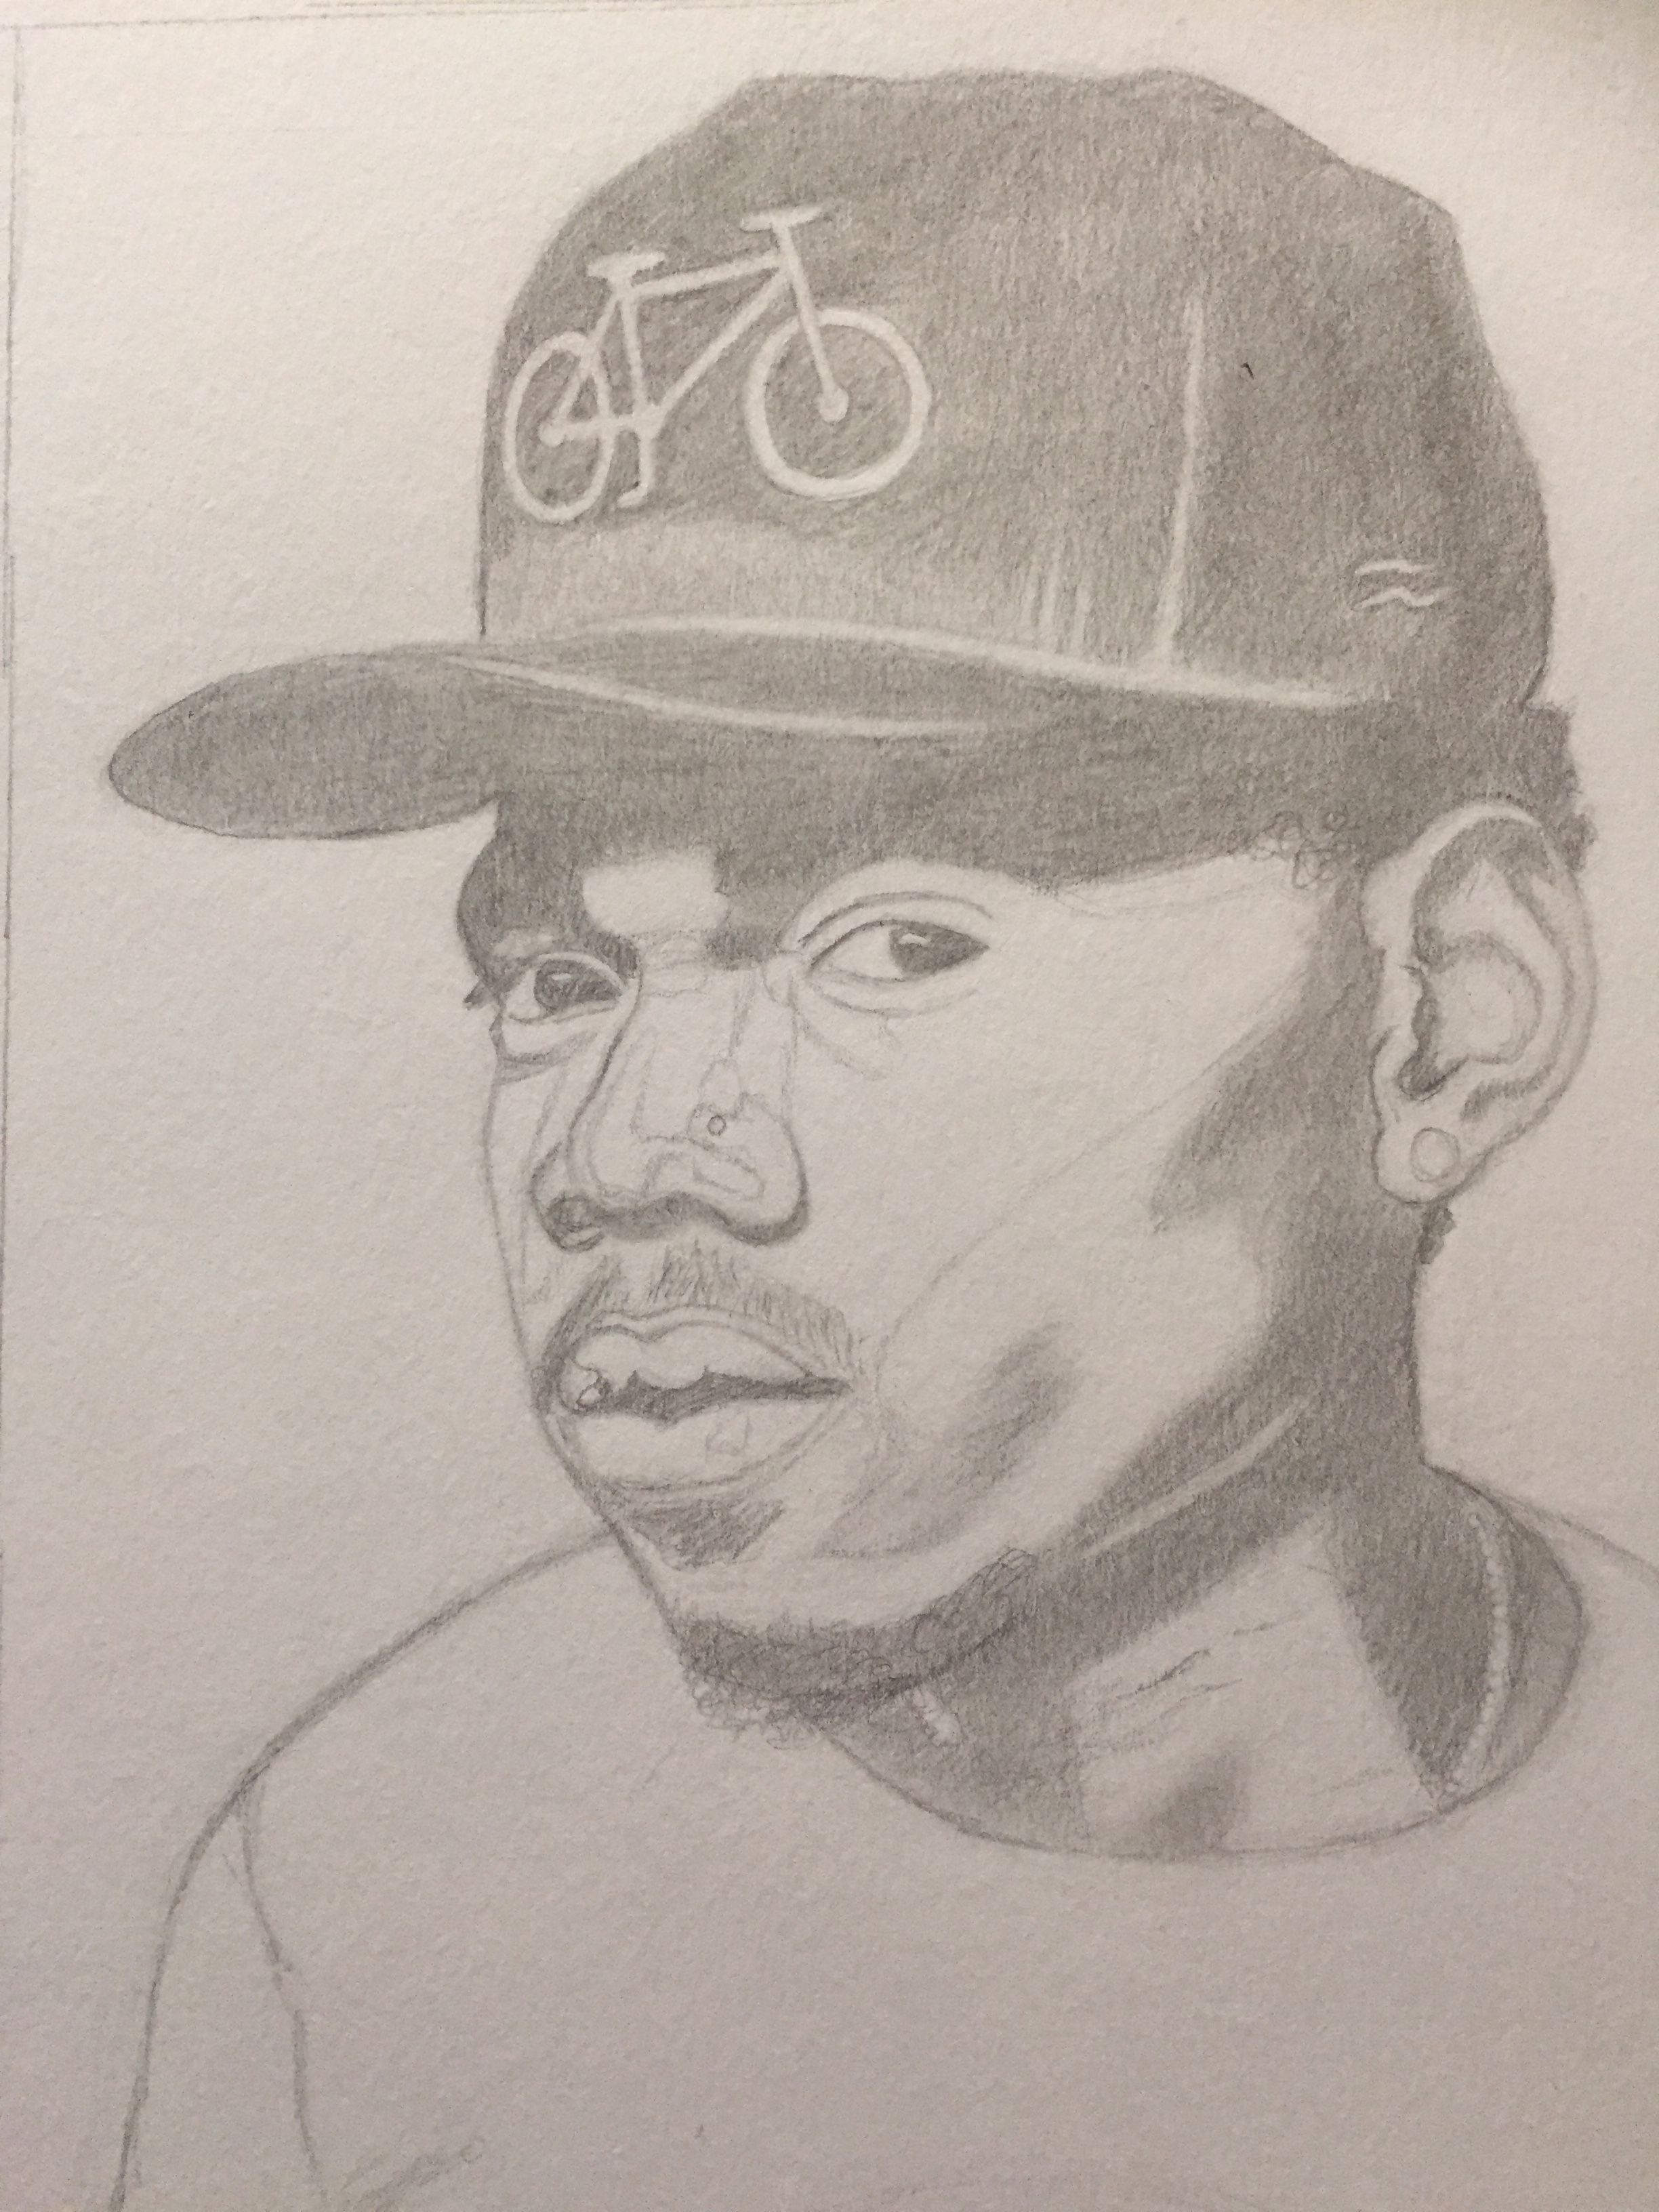
Find all the darkest shadows on the face and color in where the shades don't get any darker and shade it in deep.
Do so all the dark shadows. Try to create a bit of a gradient where each time you go deeper, you pull back the shadow a little closer to the edges of the face. this makes the shadows look less hard and more organic.
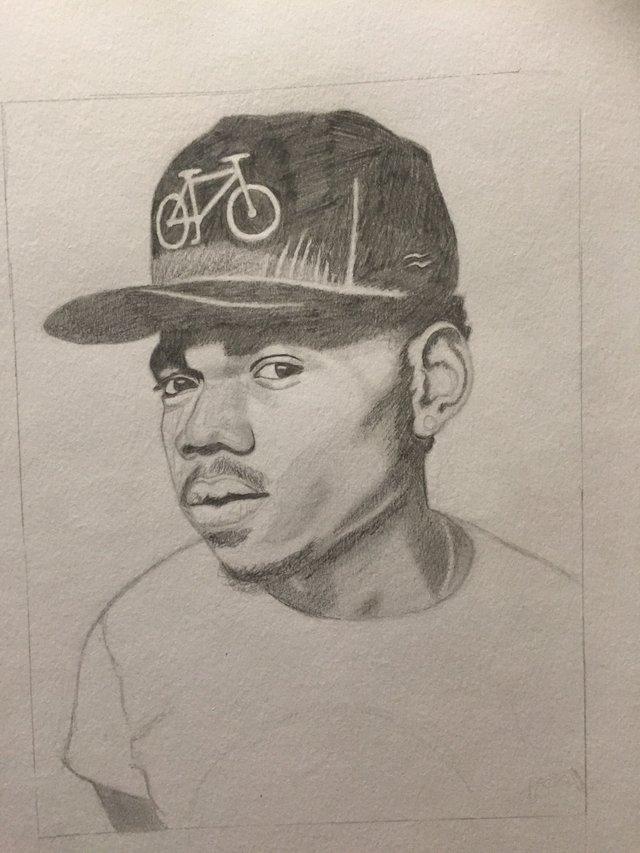
Smooth them out.
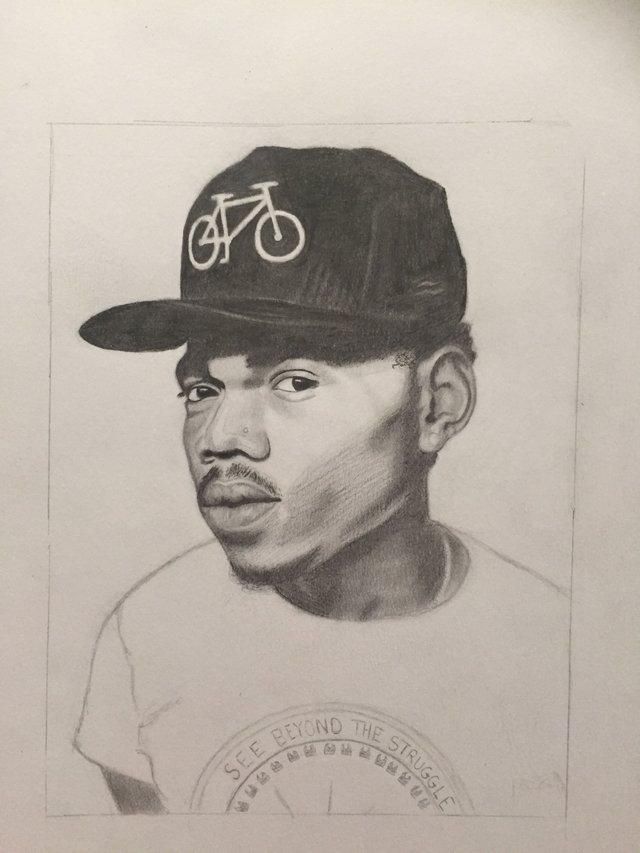
Now we are getting quiet close to the finished product. We just have to touch up some finer details on the beard and shirt. then go one shade deeper for full contrast effect.
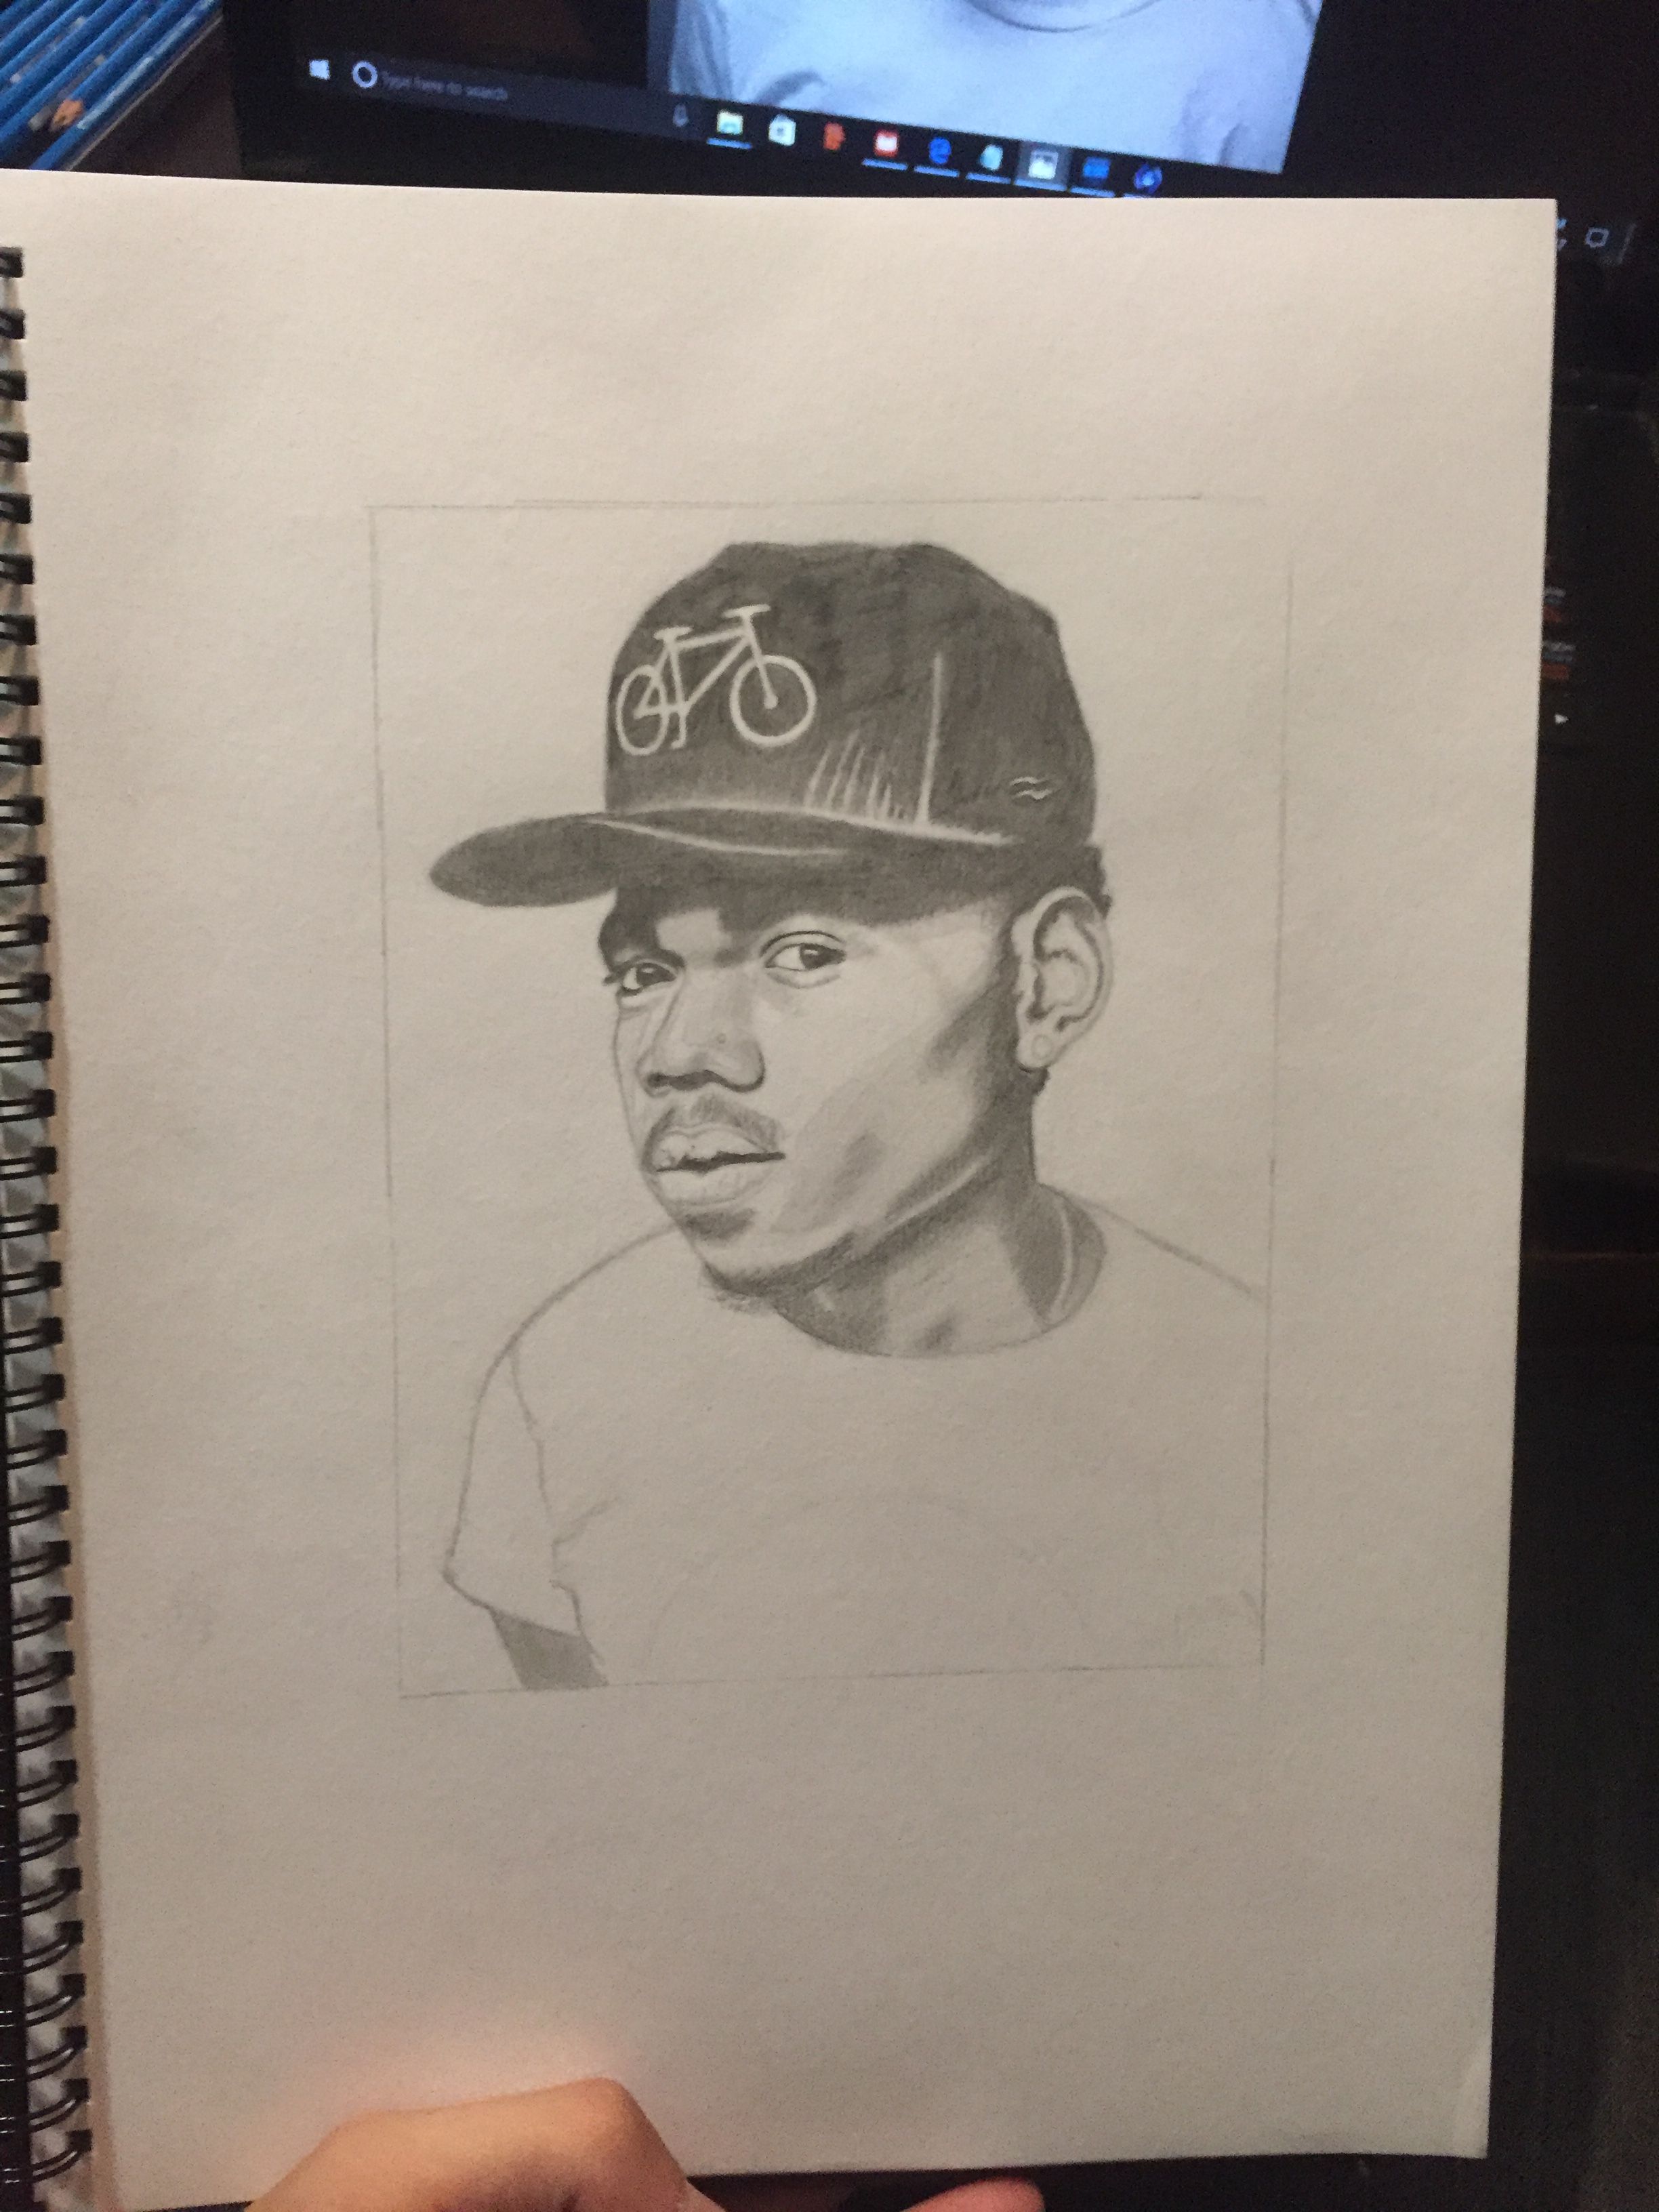
For the logo on the shirt draw in the half circles with "see beyond the struggle" in between as well as the little lines.
deepen the second darkest shadows further
real simply, roughly scribble in these areas here on the shirt then smooth them out to create the wrinkles and shadows.
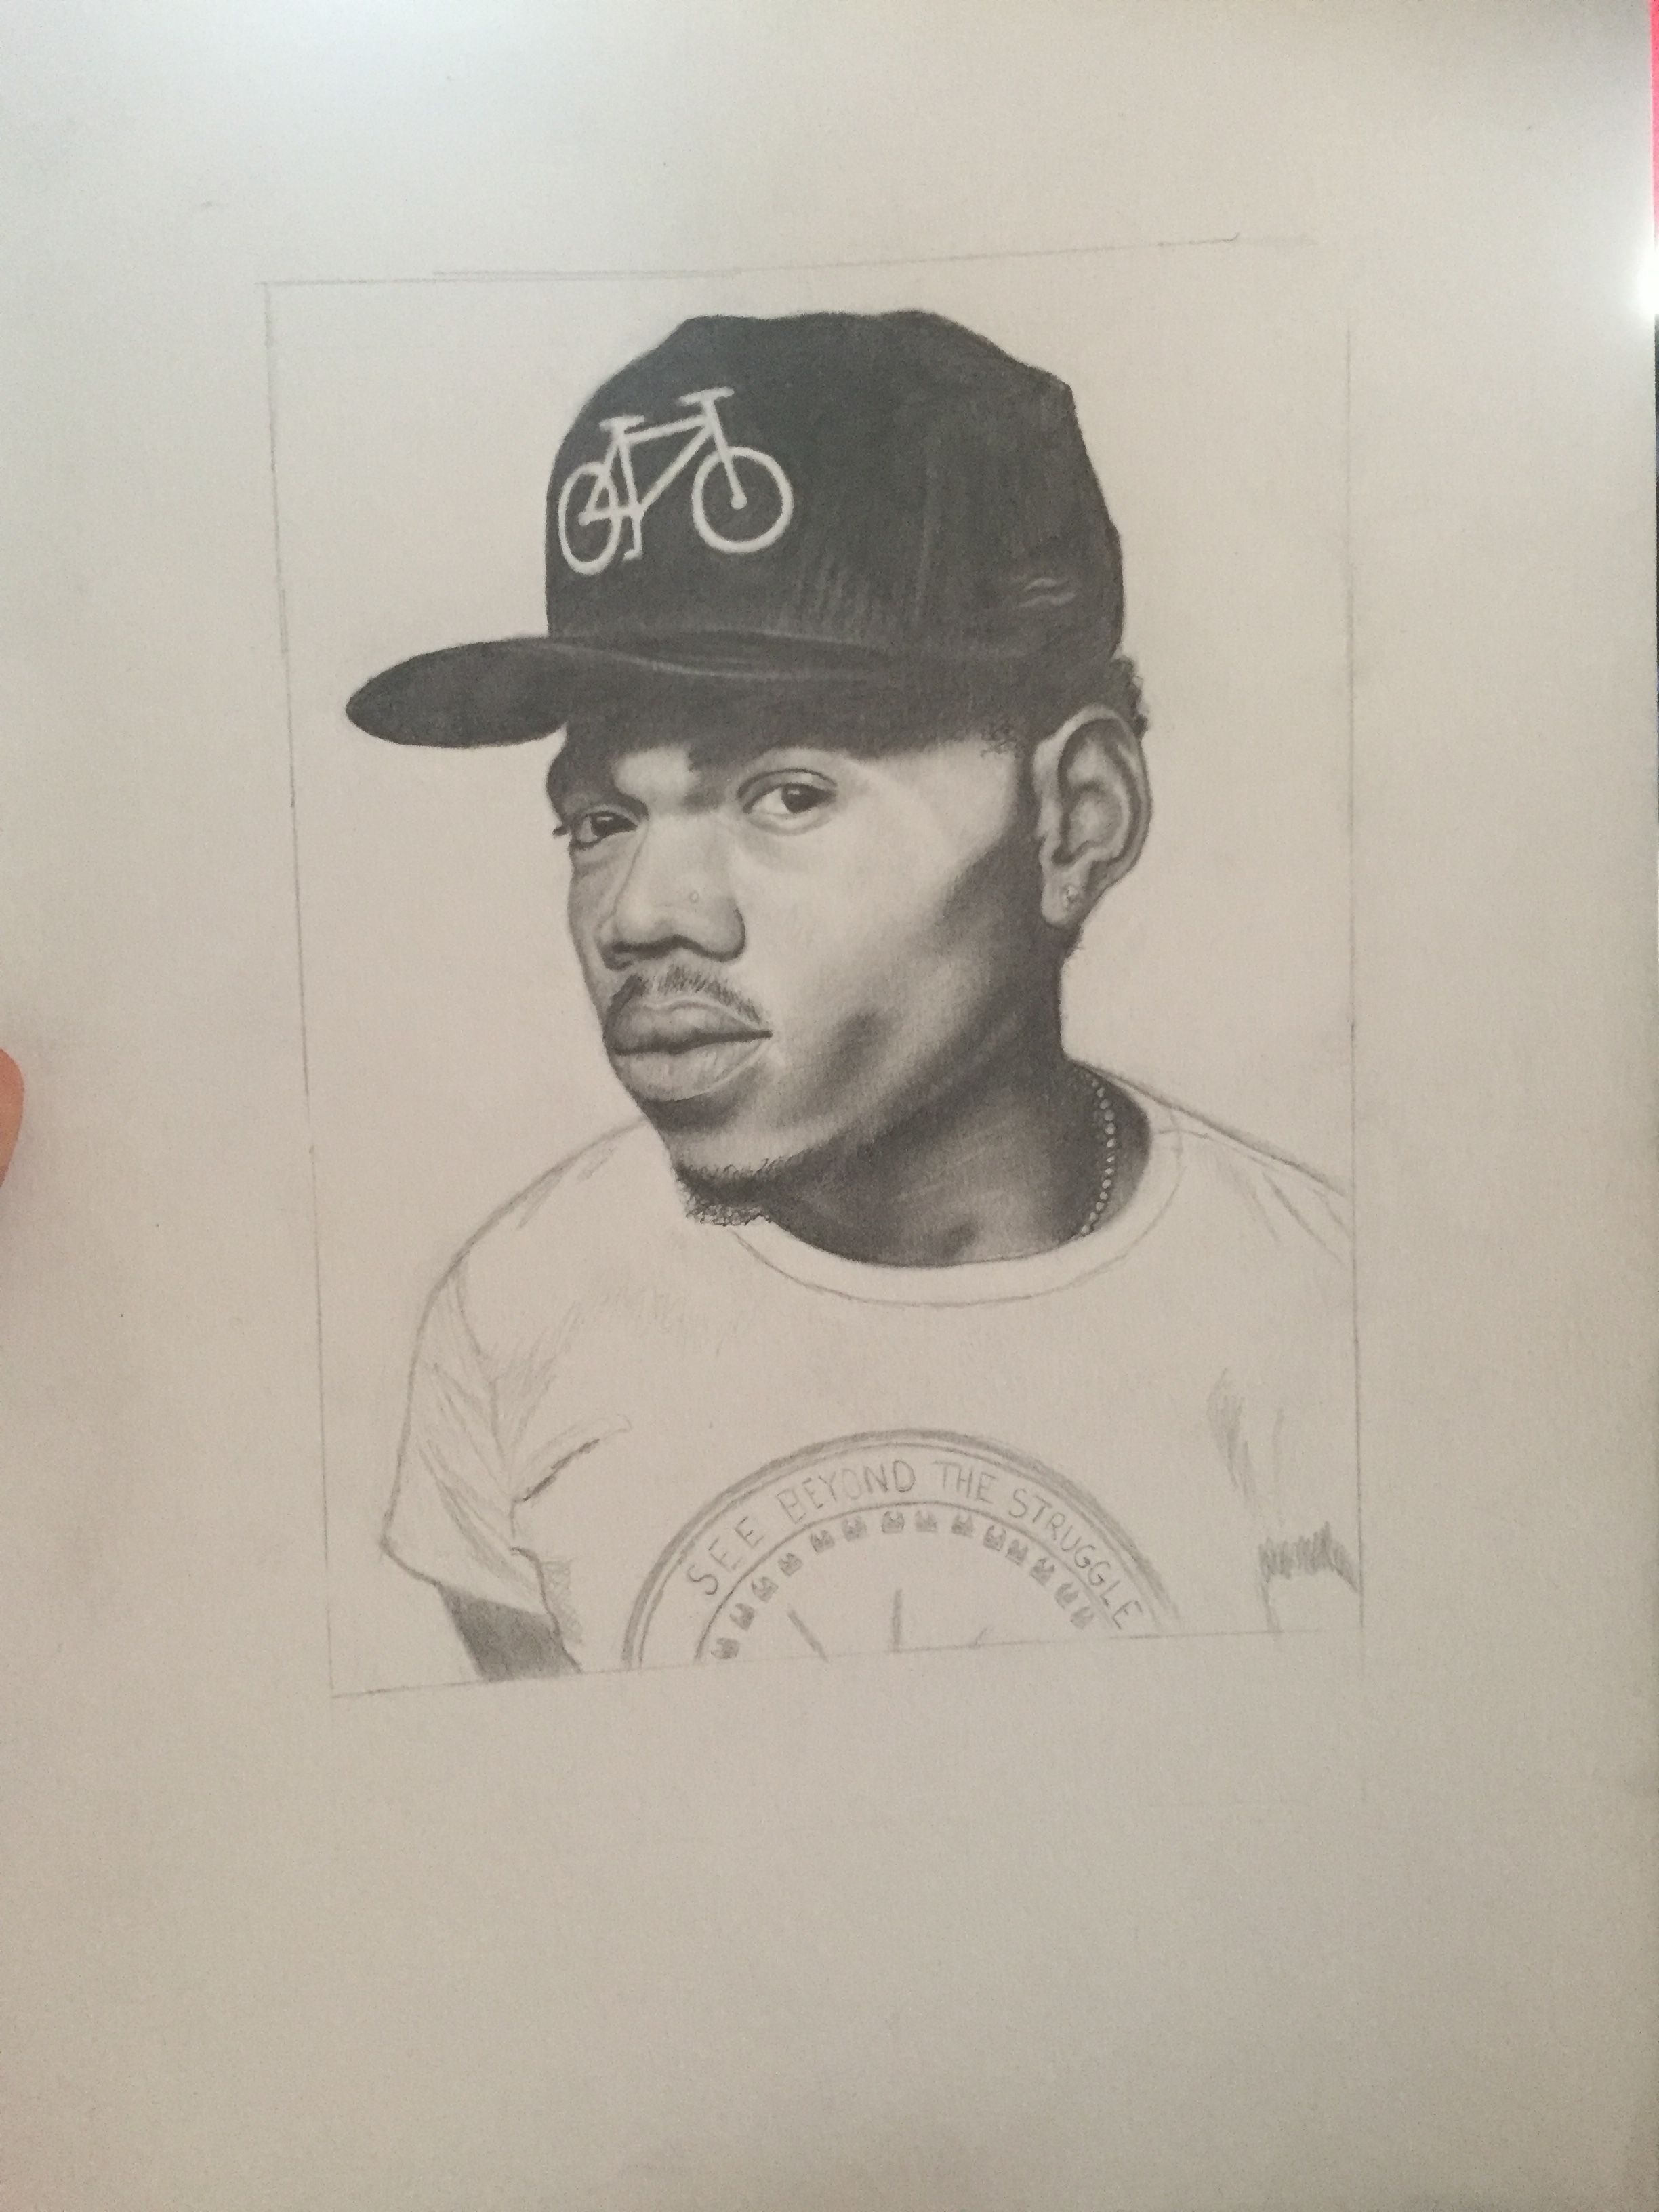
Now finally to make your art piece pop. Shade in the background with a nice light pencil, And your done!
Send a up-vote my way if you liked this and would like to see more.
If you have requests for possible future drawings let me know in the comments.
I hope you all enjoyed the tutorial,
Barry F Samways

How To Draw Chance The Rapper
Source: https://steemit.com/art/@barrysamways/step-by-step-how-to-draw-chance-the-rapper
Posted by: duncanboyaceing.blogspot.com
0 Response to "How To Draw Chance The Rapper"
Post a Comment